Homemade Marble Cake Recipe
- Time: Active 20 minutes, Passive 45 minutes, Total 65 minutes
- Flavor/Texture Hook: Velvety vanilla meets deep, fudgy mahogany swirls
- Perfect for: Afternoon tea, impressive but low effort brunches, or beginner friendly gifting
- Velvet Crumb Homemade Marble Cake Recipe
- Why This Texture Works
- Quick Preparation Specifications
- Component Analysis
- Selecting the Right Ingredients
- Essential Minimalist Baking Gear
- Streamlined Swirling and Baking
- Troubleshooting Common Baking Errors
- Adapting Quantities for Every Occasion
- Debunking Misconceptions about Marbling
- Storage and Zero Waste Methods
- Elegant Serving and Pairing Ideas
- Recipe FAQs
- 📝 Recipe Card
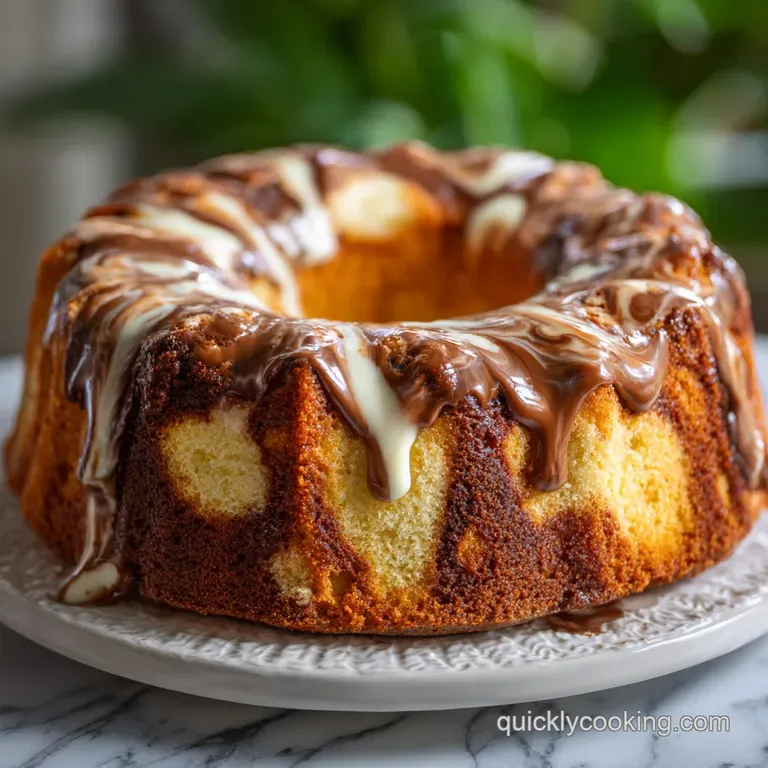
Velvet Crumb Homemade Marble Cake Recipe
I remember the first time I tried to make a marble cake from a box it was dry as dust, and the flavors just sort of blurred into a sad, beige mess. I wanted that distinct, high contrast mahogany swirl that tastes like real, deep chocolate against a velvety vanilla base.
After many attempts that looked more like muddy puddles than a masterpiece, I finally figured out that the secret isn't in fancy equipment; it's in the chemistry of the cocoa.
We've all been there, over mixing the batter because we're terrified the swirls won't show up. But honestly? Most recipes fail because the chocolate half is just the vanilla batter with some dry powder thrown in. That makes it dry and crumbly.
This version changes the game by "blooming" the cocoa in boiling water and oil first. It creates a silky chocolate paste that marbles effortlessly without ruining the cake's structure. Trust me, once you see that first slice reveal those dark, wavy patterns, you’ll never go back to the basic way.
Why This Texture Works
- The Bloom Effect: Boiling water hydrates the cocoa solids, releasing trapped flavor compounds for a deeper mahogany color.
- Acidic Tenderizing: Sour cream breaks down gluten strands, ensuring the crumb remains velvety rather than bread like.
- Fat Emulsification: Neutral oil in the chocolate paste keeps the cocoa section as moist as the vanilla section.
- Sugar Saturation: Granulated sugar draws moisture into the crumb, preventing the cake from drying out during the 45 minutes bake.
| Method | Time | Texture | Best For |
|---|---|---|---|
| Whisk Only | 65 minutes | Dense, rustic crumb | Busy weekday baking |
| Creamed Butter | 75 minutes | Airy, velvety crumb | Impressing guests |
Selecting the right method depends on your schedule, but even the whisk only version beats any store-bought alternative. If you're looking for something even faster for a morning treat, you might love my 5 Minute Fluffy recipe.
| Servings | Pan Size | Cook Time | Visual Cue |
|---|---|---|---|
| 12 Servings | 9x5 inch loaf | 45 minutes | Golden edges pulling away |
| 6 Servings | 6 inch round | 30 minutes | Center springs back |
| 24 Servings | 9x13 inch sheet | 35 minutes | Toothpick comes out clean |
Quick Preparation Specifications
This homemade marble cake recipe relies on precision checkpoints to guarantee success. First, ensure your butter is between 65°F and 68°F it should give slightly under pressure but not feel greasy.
Second, aim for an internal cake temperature of 205°F to 210°F for the perfect balance of moisture and structure. Finally, commit to exactly 3 minutes of creaming the butter and sugar; this incorporates the micro bubbles needed for a light rise.
The Physics of the Bloom
When you add boiling water to cocoa powder, you're performing "blooming." This process dissolves the cocoa particles instantly, preventing that gritty texture often found in cheap marble cakes. It also intensifies the chocolate aroma, making the mahogany swirls smell as good as they look.
Component Analysis
| Ingredient | Science Role | Pro Secret |
|---|---|---|
| Sour Cream | Fat/Acid | Use full fat for the most tender crumb |
| Dutch Cocoa | Alkalized Flavor | Sift it twice to avoid any lumps |
| Softened Butter | Aeration Base | Beat until it looks like pale frosting |
Selecting the Right Ingredients
- 225g (1 cup) Unsalted butter, softened: Provides the primary flavor and structure. Why this? Allows for better aeration than salted versions.
- Substitute: Vegan butter sticks (1:1 ratio).
- 300g (1 ½ cups) Granulated white sugar: Sweetens and tenderizes the crumb. Why this? Fine crystals dissolve faster into the butter.
- Substitute: Caster sugar for an even finer texture.
- 3 Large eggs, room temperature: Binds the ingredients together. Why this? Cold eggs can curdle the butter mixture.
- Substitute: 3/4 cup unsweetened applesauce (results in a denser cake).
- 240g (1 cup) Full fat sour cream: Adds moisture and a slight tang. Why this? The fat content ensures a silky mouthfeel.
- Substitute: Full fat Greek yogurt (similar acidity).
- 325g (2 ½ cups) All purpose flour: The structural foundation of the cake. Why this? Provides enough protein for a sturdy loaf.
- Substitute: Cake flour (results in a more delicate crumb).
- 40g (½ cup) Dutch processed cocoa powder: Creates the chocolate swirl. Why this? Darker color and smoother flavor than natural cocoa.
- Substitute: Natural cocoa powder plus a pinch of baking soda.
- 60ml (4 tbsp) Boiling water: Used to bloom the cocoa.
- Substitute: Strong hot coffee to intensify the chocolate.
Essential Minimalist Baking Gear
You don't need a heavy stand mixer for this homemade marble cake recipe, though it certainly makes the creaming step faster. A simple 9x5 inch loaf pan is the classic choice, but a standard bundt pan works beautifully too.
I recommend using a flexible silicone spatula for folding the dry ingredients to prevent over mixing, which leads to a tough texture.
Beyond the pan, grab a small whisk for the cocoa paste and a basic butter knife or skewer for the marbling. If you're used to making a simple 3 ingredient recipe, you'll find the extra bowl for the chocolate paste is the only "extra" step here, but it's the one that guarantees success.
Streamlined Swirling and Baking
1. The Flavor Foundation
Preheat your oven to 350°F and grease a 9x5 inch loaf pan. Sift your flour, baking powder, baking soda, and salt into a medium bowl and set aside.
2. Creaming for Aeration
Beat the 225g softened butter and 300g sugar together for 3 minutes until pale and fluffy. Add the eggs one at a time, followed by the vanilla paste, scraping the bowl frequently.
3. Folding the Dry Ingredients
Alternate adding the flour mixture and the 240g sour cream to the butter mixture. Start and end with the flour, mixing until just combined and no streaks remain.
4. Creating the Two Tones
In a separate small bowl, whisk 40g cocoa powder, 60ml boiling water, 15ml oil, and 25g sugar until a smooth, glossy paste forms. Remove about 1.5 cups of the vanilla batter and stir it into the chocolate paste.
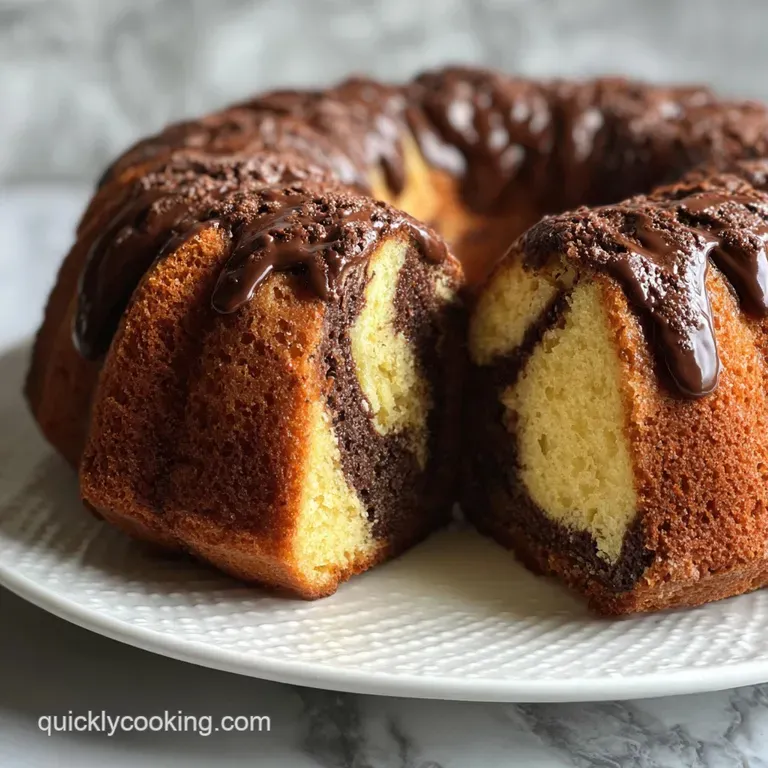
5. The Marbling Technique
Dollop large spoonfuls of vanilla batter and chocolate batter into the prepared pan in an alternating pattern. Use a knife to swirl the batters using only two or three "S" motions.
6. The Bake and Cool
Bake for 45 minutes until the top is golden and a skewer comes out clean. Let it rest in the pan for 15 minutes before transferring to a wire rack to cool completely.
Chef's Note: Don't over swirl! If you go around the pan too many times, the colors blend into a muddy grey. Two passes with a knife is usually plenty.
Troubleshooting Common Baking Errors
Dry Cake Texture Fixes
If your cake feels more like a biscuit than a velvet sponge, it’s likely over baked. Oven temperatures vary wildly, so start checking for doneness 5-8 minutes before the timer goes off. The cake should still have a tiny bit of "give" when pressed lightly in the center.
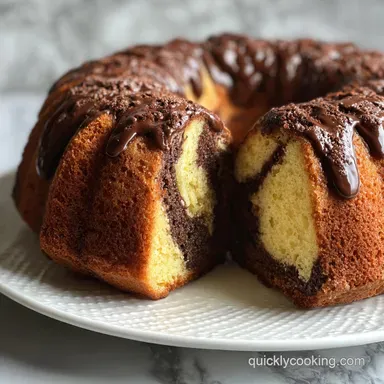
Vague Marble Pattern Solutions
Muddy swirls happen when the batter is too thin or over mixed. Ensure your sour cream is thick and cold when adding it to the batter. This keeps the two colors distinct while they bake.
Sunken Chocolate Layer Prevention
Sometimes the chocolate part is heavier and sinks. By adding the 15ml of neutral oil and the boiling water to the cocoa first, we create a paste that matches the density of the vanilla batter, keeping the swirls suspended throughout the loaf.
| Problem | Root Cause | Solution |
|---|---|---|
| Tunnels in crumb | Over beating flour | Mix dry ingredients by hand |
| Bitter chocolate | Burnt cocoa | Ensure water is boiling, not simmering |
| Greasy bottom | Butter too warm | Use "cool" room temp butter (65°F) |
Common Mistakes Checklist
- ✓ Don't skip sifting the cocoa - lumps will not bake out of the swirl.
- ✓ Use room temperature eggs to prevent the batter from breaking.
- ✓ Stop swirling once you see the pattern - less is more for high contrast.
- ✓ Measure flour by weight (325g) rather than volume for consistency.
Adapting Quantities for Every Occasion
To scale this recipe down for a small gathering, you can easily halve the ingredients. Use a smaller 6 inch round pan and reduce the baking time by about 15 minutes.
If you only have two eggs instead of three, use a tablespoon of milk to make up the moisture difference, though the crumb might be slightly less rich.
Scaling up for a party? Double the recipe and use a 9x13 inch baking pan. When doubling, keep the spices and leavening agents (baking powder/soda) at 1.5x the original amount to avoid a metallic aftertaste. For a large crowd, I often serve this alongside a Fast Tuna Melt recipe for a quick "soup and sandwich" style lunch gathering where the cake is the star.
Debunking Misconceptions about Marbling
One big myth is that you need two completely different batters to make a marble cake. In reality, using one base batter and adding a concentrated chocolate paste to a portion of it ensures the textures match perfectly.
Another common error is thinking that "more swirls equal better cake." Over swirling actually destroys the aeration you worked so hard to build during the creaming stage.
Finally, some say you must use melted chocolate for the swirl. While melted chocolate is tasty, it hardens as it cools, making the chocolate parts of the cake feel firmer and "stale" faster than the vanilla parts. Cocoa powder bloomed in hot water stays soft and moist for days.
Storage and Zero Waste Methods
- Storage: Keep the cake in an airtight container at room temperature for up to 4 days. For longer storage, wrap slices tightly in plastic wrap and freeze for up to 3 months.
- Zero Waste: If you end up with dry edges or a stale leftover end, don't toss it! Crumble the cake and mix it with a bit of frosting to make easy cake pops. You can also toast slices in butter on a skillet for a decadent breakfast treat.
Elegant Serving and Pairing Ideas
For the ultimate experience, serve a thick slice of this marble cake slightly warm with a dollop of unsweetened whipped cream. The cream cuts through the richness of the Dutch cocoa perfectly.
If you want to get fancy, a simple vanilla buttercream or a dark chocolate ganache drizzled over the top adds a layer of "wow" factor without much extra work.
I personally love pairing a slice with a sharp, black coffee in the afternoon. The bitterness of the coffee highlights the floral notes in the vanilla bean paste. It's a simple, efficient way to turn a basic afternoon into something that feels like a celebration.

Recipe FAQs
How to make a simple marble cake?
Start by preparing two batters. Make a standard vanilla cake batter, then take a portion of it and mix it with a bloomed cocoa paste. Dollop spoonfuls of each batter into your pan and swirl them together gently with a knife.
How to get marble effect in cake?
Use contrasting batters and a gentle swirl. Dollop alternating spoonfuls of your vanilla and chocolate batters into the pan. Then, use a knife or skewer to make just one or two "S" shaped passes through the batters to create streaks.
What flour to use for marble cake?
All-purpose flour is ideal for a balanced texture. It provides enough structure to support the different batters without making the cake too dense. Cake flour can also work for a more delicate crumb.
What is the secret to a perfect marble swirl?
The secret is in the chocolate paste and minimal swirling. Bloom cocoa powder with hot water and oil to create a smooth, moist paste that matches the vanilla batter's consistency. Over swirling will muddy the colors, so just a few passes with a knife is key to distinct patterns.
Can I use oil instead of butter in marble cake?
Yes, you can substitute oil for butter, especially in the chocolate portion. Using oil in the chocolate paste helps keep it moist and dense, mirroring the vanilla batter's texture for better marbling. It’s similar to how we use oil for moisture in our 5 Minute Hummus recipe, ensuring a smooth consistency.
How do I prevent the chocolate swirls from sinking?
Ensure the chocolate batter's consistency is similar to the vanilla batter. Blooming the cocoa with hot water and oil creates a paste that integrates smoothly, preventing it from being too heavy and sinking. This technique helps achieve a well integrated swirl.
Is it true that sour cream makes marble cake moist?
Yes, sour cream adds significant moisture and tenderness. Its fat and acidity help to break down gluten, resulting in a softer, velvety crumb that stays moist for longer. This is a key component for a rich texture, much like in recipes designed for longer shelf life and softness.
Homemade Marble Cake
Ingredients:
Instructions:
Nutrition Facts:
| Calories | 412 calories |
|---|---|
| Protein | 5.6g |
| Fat | 22.2g |
| Carbs | 50.7g |
| Fiber | 1.2g |
| Sugar | 27.3g |
| Sodium | 256mg |
