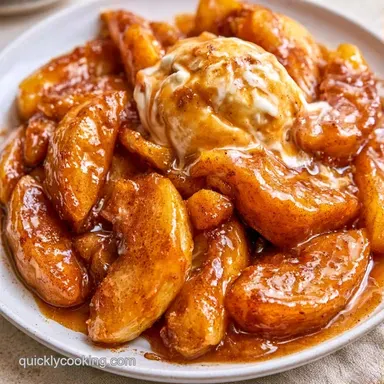
Warm Cinnamon Apples with Ice Cream
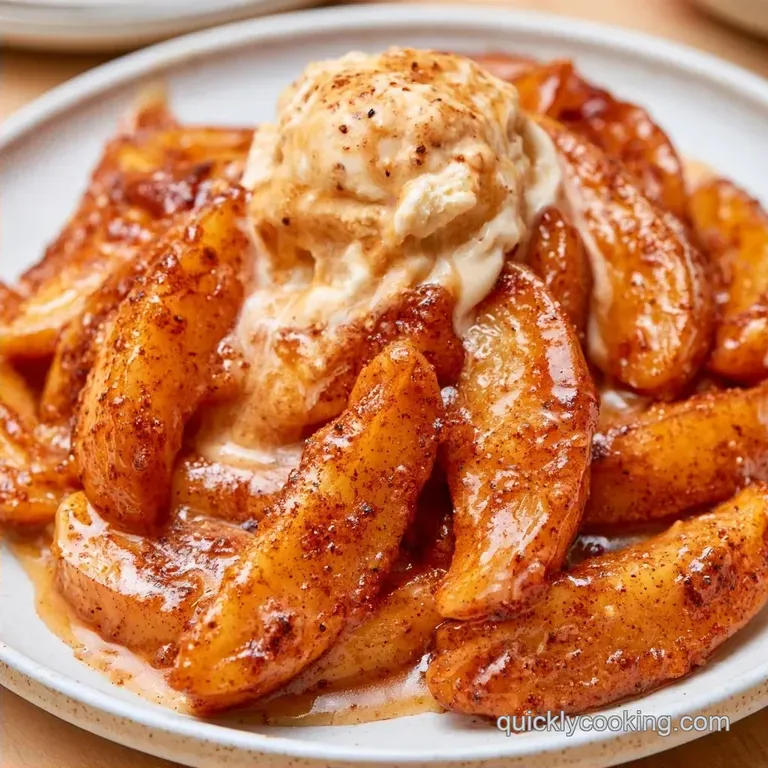
- Time: 15 minutes prep + 10 minutes cooking
- Key Appeal: A shimmering cinnamon glaze paired with cold vanilla cream
- Perfect for: An affordable weeknight dessert
Warm Apples Ice Cream: Fast Fall Treat
October in my hometown always brings back memories of cinnamon and simmering butter. For my family, this wasn't an elaborate restaurant treat, but a simple method for clearing out the bag of apples on the counter. Whenever my grandmother cooked them in a pan, the entire home felt like a cozy cabin.
This is the sort of dessert that tastes luxurious while costing almost nothing per portion. You don't need a gourmet kitchen or a large budget to enjoy the interplay between freezing ice cream and piping hot fruit.
This take on Warm Apples Ice Cream prioritizes efficiency and intense flavor. Instead of a long hour in the oven, we use a skillet to caramelize the edges quickly. It's an effortless, affordable, and truly addictive dish.
How to Get the Texture Right
The trick to this dish is managing the heat so the fruit doesn't collapse into a jam.
- Tart Apples: Granny Smiths have high pectin, which keeps them firm when heated. This ensures the fruit holds its shape against the melting ice cream.
- High Heat: Searing the apples quickly creates a brown crust without cooking the inside to mush.
| Method | Time | Texture | Best For |
|---|---|---|---|
| Sauté | 10 min | Distinct wedges | Quick cravings |
| Baked | 45 min | Soft/Mushy | Holiday crowds |
The Tools You'll Need
You can keep the equipment simple. A 12 inch skillet is ideal for this. I find that stainless steel or cast iron pans perform best because they hold heat more consistently than non-stick surfaces.
Be careful not to use a pan that's too small, or the apples will crowd together and steam in their own juices instead of searing.
A standard vegetable peeler and a sharp chef's knife are all you'll need for the prep work. Additionally, I recommend using chilled bowls for assembly; this prevents the ice cream from melting the moment the hot fruit touches it.
Picking the Best Ingredients
I've found that using a mix of a tart apple and a touch of maple syrup creates a flavor profile that doesn't feel overly sugary. If you're on a tight budget, store brand vanilla ice cream works just fine, as the warm cinnamon glaze does most of the heavy lifting.
What Each Ingredient Does
| Ingredient | Role | If You Don't Have It |
|---|---|---|
| Granny Smith Apples | Holds shape | Honeycrisp or Braeburn |
| Maple Syrup | Creates glaze | Honey or brown sugar |
| Cinnamon | Adds warmth | Apple pie spice |
| Lemon Juice | Prevents browning | Apple cider vinegar |
Ingredients & Substitutes
- 3 large Granny Smith apples (680g), peeled and sliced into 1/4 inch wedges Why this? Keeps the texture crisp under heat
- 2 tbsp unsalted butter (28g) Why this? Adds richness and helps searing
- 2 tbsp pure maple syrup (30ml) Why this? Provides a woody sweetness
- 1 tsp ground cinnamon (2.6g)
- 1/4 tsp sea salt (1.5g)
- 1 tsp fresh lemon juice (5ml)
- 2 cups vanilla bean ice cream (480g)
- 1 tbsp melted salted caramel sauce (15ml)
| Original Ingredient | Substitute | Why It Works |
|---|---|---|
| Maple Syrup | Honey | Similar viscosity. Note: Honey is sweeter, so use slightly less |
| Unsalted Butter | Coconut Oil | High smoke point. Note: Adds a slight coconut flavor |
| Vanilla Ice Cream | Coconut Ice Cream | Creamy fat content. Note: Great dairy-free option |
Quick Recipe Specs
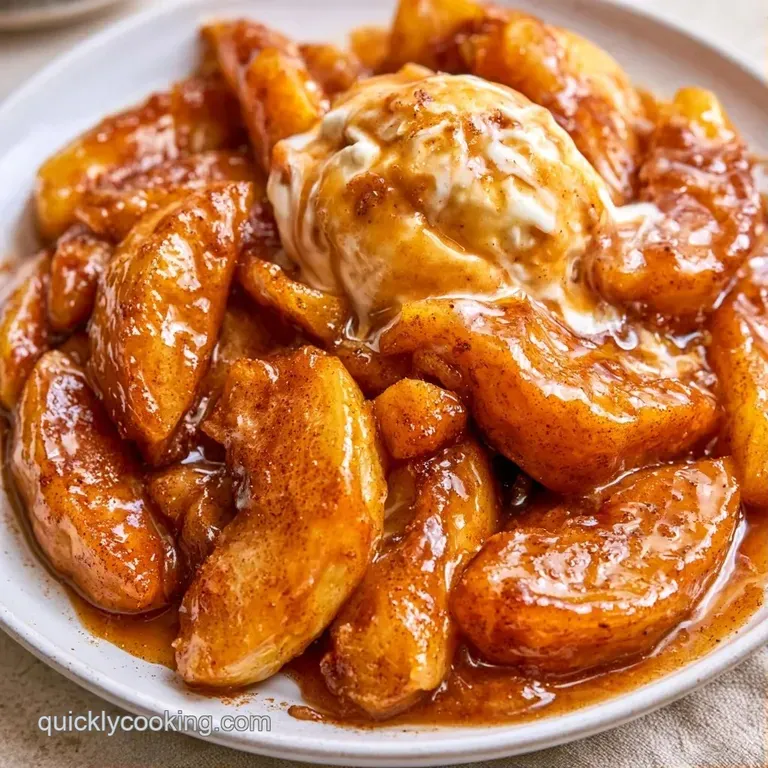
This dessert is designed for speed. Since we're using a skillet, the cook time is minimal.
- Prep time: 15 minutes
- Cook time: 10 minutes
- Total time: 25 minutes
- Yield: 4 servings
Chef's Note: To keep costs down, buy your cinnamon in the bulk section. It's way cheaper than the pre packaged jars and stays fresh in a tight container.
Bringing the Dessert Together
Let's crack on with the cooking. The goal is a glossy finish and fruit that is tender but still has a slight bite.
Phase 1: Preparing the Fruit
Peel the apples and slice them into uniform wedges. Toss the slices in a bowl with the lemon juice. Note: This keeps the fruit from turning brown while you prep the pan.
Phase 2: The Sauté
Melt the butter in a 12 inch skillet over medium high heat until it begins to foam. Add the apple wedges in a single layer. Sauté for 3–5 minutes, stirring occasionally, until the edges look translucent and a light golden brown crust forms.
Phase 3: Glazing and Finishing
Sprinkle the cinnamon, sea salt, and maple syrup over the apples. Stir constantly for another 2–3 minutes until the syrup bubbles and thickens into a glossy glaze. The apples should be coated and smelling strongly of cinnamon.
Phase 4: The Assembly
Scoop a generous portion of vanilla ice cream into chilled bowls. Spoon the hot apples directly over the ice cream and drizzle with melted salted caramel sauce.
Precision Checkpoints:
- Temperature: Ensure butter is foaming before adding apples.
- Visual: Syrup should be bubbling and thick, not watery.
- Timing: Total sauté time should not exceed 10 minutes.
Fixing Common Issues
Even simple recipes can run into trouble, and usually, it's a matter of temperature.
Mushy Fruit
This occurs if the surface is too cool or you stir too often. If the butter doesn't foam, your apples will steam rather than sear. To prevent this, allow the pan to heat for a full minute before adding the fruit, then leave them undisturbed for 2 minutes to develop a golden crust.
Watery Sauce
Overcrowding the pan or using apples with excessive moisture can keep the syrup from thickening. If your glaze is too thin, increase the heat to high and stir vigorously for 60 seconds. This boils away the extra liquid and concentrates the sugars.
Burnt Cinnamon
Cinnamon can scorch if it contacts a dry, overheating pan, which is why the butter and syrup go in first. Black specks in the sauce mean the heat is too high. Lower the flame and stir in a tiny splash of water or apple juice to loosen any burnt residue.
Storing and Reheating Guide
You can't store the assembled Warm Apples Ice Cream because the ice cream melts instantly. However, the cinnamon apples are great on their own.
Keep the cooked apples in a sealed glass jar in the cooler for about 3 days. When you're ready to eat them, put them back in a skillet over medium heat for 2 minutes. Add a tiny knob of butter if they look dry.
For zero waste, use the apple peels to make a quick cinnamon sugar chip. Toss the peels in oil and cinnamon, then air fry or bake them until crisp. They make a great garnish for the final dish.
Smart Swaps and Variations
If you want to change the vibe of this dish, you can easily swap the sweetener or the fruit.
For a more traditional "pie" flavor, use brown sugar instead of maple syrup. This creates a deeper, molasses like glaze. If you're feeling adventurous, try using a mix of Granny Smith and Honeycrisp apples for a balance of tart and sweet.
For those who like other cozy treats, you might enjoy my vanilla sauce recipe which uses a similar flavor profile.
Decision Shortcut:
- For a deeper glaze: Simmer the syrup for an extra 60 seconds.
- For softer fruit: Slice the wedges thinner than 1/4 inch.
- For more zing: Increase lemon juice to 2 teaspoons.
Great Pairing Suggestions
Because this dessert is so indulgent, it pairs perfectly with flavors that are salty or bitter. A cup of bold black coffee or a spicy chai tea is ideal for cutting through the richness of the ice cream.
After a filling meal, such as a pot of homemade chili, the contrast in temperature makes this a refreshing way to finish.
Common Fruit Misconceptions
Many believe that apples must be peeled for desserts. In reality, there is no need to do this if you are using a thin-skinned variety like Gala. Keeping the skins on provides extra fiber and adds natural color to the dish.
Another myth is that lemon juice serves only to keep the fruit from browning. While it does prevent oxidation, the acidity actually lifts the flavor profile, ensuring the maple syrup doesn't feel too heavy.
The secret to this dish is the interplay between the freezing ice cream and the sizzling cinnamon apples. Just be sure to use chilled bowls for the best experience.
Recipe FAQs
Do apples go well with ice cream?
Yes, the contrast is excellent. The heat from the sautéed Granny Smith apples melts the vanilla bean ice cream, creating a rich, creamy sauce.
How do you make warm apples?
Sauté sliced apples in melted butter. Cook them over medium-high heat for 3–5 minutes before stirring in cinnamon, sea salt, and maple syrup to create a glossy glaze.
Is it true that you must bake apples in the oven to get them warm?
False. Sautéing in a skillet is significantly faster and allows the maple syrup to caramelize more effectively.
Can you store these cinnamon apples?
Yes, store them in a sealed glass jar. They stay fresh in the cooler for about 3 days. If you enjoyed the flavor balance here, see how we apply similar sweetness in our moist banana bread.
Which apple is best for this dessert?
Granny Smith is the best choice. Their natural tartness perfectly offsets the sweetness of the maple syrup and salted caramel sauce.
Warm Apples Ice Cream in 25 Minutes