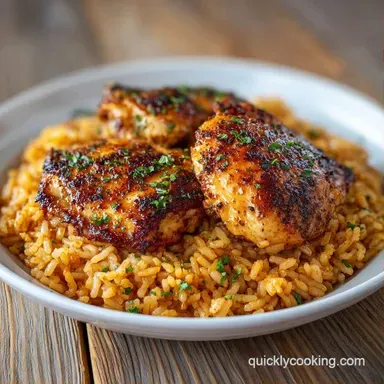
Chicken Thigh Rice Casserole: Velvety and Rich
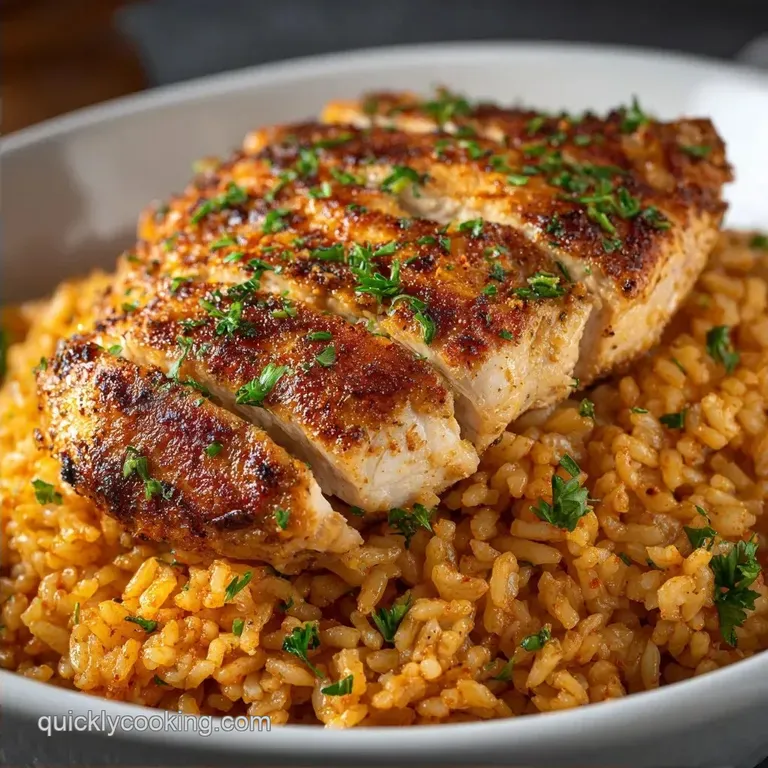
- Time: 15 min active + 50 min baking
- Flavor/Texture Hook: Velvety rice base with browned, crisp chicken tops
- Perfect for: Stress free weeknight dinners and meal prep
- Easy One Pan Chicken Rice Casserole
- Why This Bake Actually Works
- Essential Recipe Specs
- The Core Building Blocks
- Minimal Gear Needed
- Simple Step By Step Method
- Preventing Common Baking Disasters
- Troubleshooting Common Issues
- Adjusting Your Batch Size
- Debunking Casserole Myths
- Storage And Leftover Tips
- Best Way To Serve
- Recipe FAQs
- 📝 Recipe Card
Easy One Pan Chicken Rice Casserole
The smell of smoked paprika and garlic hitting a hot oven is enough to make anyone hungry. But have you ever wondered why some oven bakes turn into a mushy mess while others stay fluffy and distinct? It usually comes down to the liquid ratio and how you protect the grains during the first half of the cook.
I used to think all casseroles were basically the same, just a bunch of stuff thrown in a dish. Then I realized that the order of operations matters. If you put the chicken on too early or skip the foil, you end up with rubbery meat and scorched rice. This method fixes that.
We're making a Chicken Rice Casserole that actually tastes like it took hours, but uses minimal tools and a few smart shortcuts. It's a hearty, filling meal that doesn't require you to stand over a stove stirring for forty minutes. Trust me on this, your weeknights just got a lot easier.
Why This Bake Actually Works
The secret to this dish isn't fancy equipment, but how the ingredients interact under heat. Most people struggle with rice in the oven, but these mechanisms keep it stable.
Fat Barrier: The combination of sour cream and canned soup creates a thick, fatty layer. This prevents the rice from absorbing liquid too quickly and turning into porridge.
Steam Trapping: Covering the dish with foil for the first 30 minutes creates a pressurized steam chamber. This forces the heat into the center of the rice, ensuring every grain cooks through without evaporating the broth.
Layered Heat: By placing the chicken on top, the meat juices drip down into the rice as they render. This adds a deep, savory flavor to the grains that you just can't get if you mix everything together.
Starch Control: Rinsing the rice removes excess surface starch. This prevents the grains from clumping together, leaving you with a texture that is velvety but not sticky.
When you're deciding how to approach this, you might wonder if you should go fully from scratch or use a few helpers. Here is how the different paths compare.
| Approach | Prep Effort | Texture | Taste Impact |
|---|---|---|---|
| Fresh Aromatics | Medium | Coarser, rustic | Vibrant, sharp onion notes |
| Shortcut Powders | Low | Uniform | Mellow, consistent flavor |
| Homemade Sauce | High | Silky, controlled | Richer, buttery finish |
| Canned Soup | Low | Thick, creamy | Classic, nostalgic comfort |
Using the shortcut method is what makes this a high efficiency meal. You get 90% of the flavor with 20% of the effort, which is the goal for any home cook on a Tuesday night.
Essential Recipe Specs
Before we get into the gear, let's look at what's happening inside the pan. This is a high density meal, meaning it provides a lot of energy and satiety in a single serving.
The base of the Chicken Rice Casserole relies on long grain white rice. This specific grain holds its shape better than short grain or jasmine rice, which can collapse under the weight of the chicken thighs.
Because we're using boneless skinless chicken thighs, we get a much higher moisture retention than we would with breasts.
The timing is precise. We're looking at 15 minutes of prep and 50 minutes in the oven. If you try to rush the uncovered portion, the chicken won't brown. If you leave it covered too long, the rice becomes overcooked. Stick to the clock for the best results.
The Core Building Blocks
To get this right, you need ingredients that balance richness with acidity. The sour cream provides the tang that cuts through the heavy mushroom soup, keeping the dish from feeling too weighted.
Component Analysis
| Ingredient | Science Role | Pro Secret |
|---|---|---|
| Long grain Rice | Structure | Rinse until water is clear to stop clumping |
| Chicken Thighs | Fat/Protein | Use room temp meat for faster browning |
| Sour Cream | Acid/Stabilizer | Full fat only; low fat can break and separate |
| Chicken Broth | Hydration | Low sodium allows you to control the salt |
Ingredients and Substitutions
- 2 lbs boneless skinless chicken thighs Why this? Higher fat content prevents drying out
- Substitute: Boneless chicken breasts (Note: Reduce uncovered bake time by 5 mins)
- 2 tbsp extra virgin olive oil Why this? High smoke point for oven browning
- Substitute: Melted butter for a nuttier flavor
- 1 tsp smoked paprika Why this? Adds a deep, woody aroma
- Substitute: Sweet paprika, though you lose the "charred" taste
- 1 tsp garlic powder Why this? Even distribution of flavor
- Substitute: Fresh minced garlic (increase to 3 cloves)
- 1 tsp onion powder Why this? Adds base savory notes
- Substitute: Finely grated shallot
- 1/2 tsp salt Why this? Enhances all other spices
- Substitute: Sea salt or Kosher salt
- 1/2 tsp black pepper Why this? Subtle heat
- Substitute: White pepper for a milder punch
- 2 cups long grain white rice, rinsed Why this? Holds shape during baking
- Substitute: Brown rice (Note: Increase broth by 1/2 cup and add 20 mins to cook time)
- 2 cups chicken broth, low sodium Why this? Primary hydration for rice
- Substitute: Vegetable broth for a lighter profile
- 1 can (10.5 oz) cream of mushroom soup Why this? Provides instant thickness
- Substitute: Cream of chicken soup for a more poultry forward taste
- 1/2 cup sour cream Why this? Adds velvety texture and tang
- Substitute: Greek yogurt (Note: Same tang, slightly less creamy)
- 1 small yellow onion, finely diced Why this? Adds fresh sweetness
- Substitute: Dried minced onion (2 tbsp)
- 2 cloves garlic, minced Why this? Pungent aromatic base
- Substitute: Garlic paste (1 tsp)
- 1 tsp dried Italian seasoning Why this? Herbal complexity
- Substitute: Dried oregano and thyme mix
If you're looking for other ways to use chicken in a creamy format, you might enjoy a [creamy chicken gnocchi soup](https://quicklycooking.com/recipes/creamy chicken-gnocchi soup/) for a lighter, spoonable alternative.
Minimal Gear Needed
One of the best parts of this Chicken Rice Casserole is that you don't need a kitchen full of gadgets. We're stripping this down to the bare essentials to keep the cleanup fast.
First, you need a 9x13 inch baking dish. Glass or ceramic works best here because they hold heat evenly. If you use a metal pan, be careful as the edges can sometimes brown too quickly.
A large mixing bowl is necessary for tossing the chicken. You want enough room to move the meat around so every inch is coated in oil and spices. If you're really trying to save on dishes, you can mix the rice base directly in the baking dish, then add the chicken on top.
Finally, a set of aluminum foil sheets is non negotiable. This isn't just for keeping things warm, it's a functional part of the cooking process that ensures the rice actually softens.
Simple step by step Method
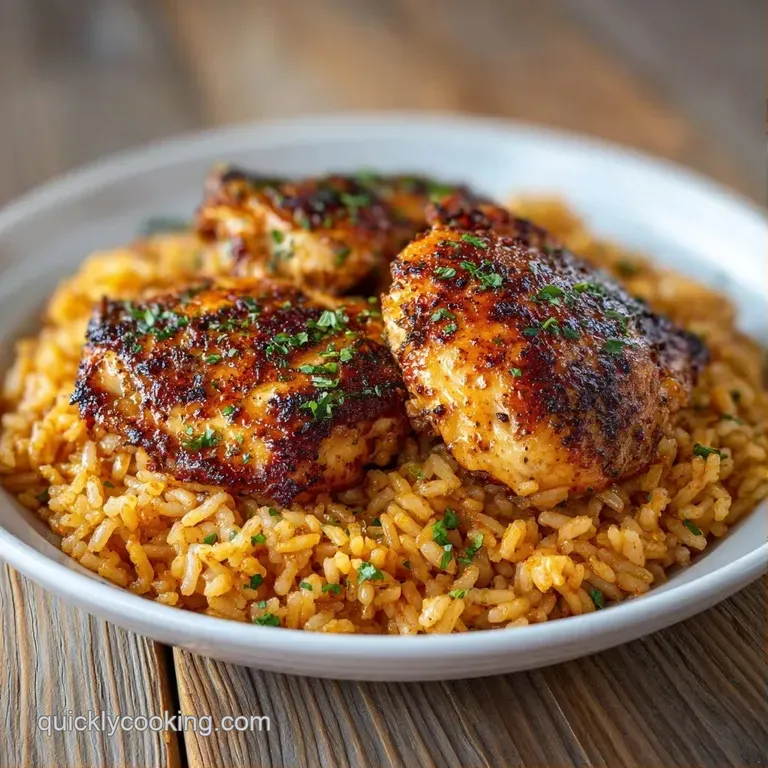
Now we get into the actual assembly. Keep your movements efficient and your measurements exact.
Phase 1: Prepping the Flavor Base
- Toss the chicken thighs with olive oil, smoked paprika, garlic powder, onion powder, salt, and pepper in a large bowl. Note: Ensure the oil coats everything first so the spices stick
- Stir together the rinsed rice, chicken broth, cream of mushroom soup, sour cream, diced onion, minced garlic, and Italian seasoning in the 9x13 dish. Mix until the texture is velvety and no clumps of soup remain.
Phase 2: Assembling the Casserole
- Arrange the seasoned chicken thighs in a single layer on top of the rice mixture. Note: Don't crowd them too much or they won't brown
- Press the chicken thighs slightly into the rice base. This ensures the meat stays in contact with the moisture during the first bake.
Phase 3: The Two Stage Bake
- Cover the dish tightly with aluminum foil. Note: Make sure the seal is tight to trap the steam
- Bake at 350°F (175°C) for 30 minutes. The rice should be mostly cooked and the chicken opaque.
- Remove the foil completely.
- Bake for another 20 minutes until the chicken reaches 165°F (74°C) and the tops are browned and crisp.
Once it comes out, let it rest for 5 to 10 minutes. This allows the rice to finish absorbing any remaining surface liquid, which prevents the dish from being too runny when you scoop it out.
Preventing Common Baking Disasters
Even a simple Chicken Rice Casserole can go wrong if you ignore a few key details. Most issues stem from moisture management or temperature slips.
Troubleshooting Common Issues
| Issue | Solution |
|---|---|
| Why Your Rice Is Mushy | This usually happens because the rice wasn't rinsed or too much liquid was added. When surface starch stays on the grain, it creates a glue like consistency. |
| Why Your Chicken Is Pale | If your chicken looks steamed rather than roasted, you likely removed the foil too early or your oven temp is too low. The final 20 minutes are entirely about the "sear. |
| Why The Rice Is Hard | Undercooked rice is almost always a result of a poor foil seal. If the steam leaks out, the rice can't hydrate. Check that the foil is pressed firmly against the edges of the 9x13 dish. |
Common Mistakes Checklist
- ✓ Rinsed the rice until the water ran clear.
- ✓ Used a tight foil seal for the first 30 mins.
- ✓ Verified oven temp was exactly 350°F.
- ✓ Used chicken thighs instead of breasts for moisture.
- ✓ Let the dish rest for 10 mins after baking.
If you're scaling this up for a crowd, keep in mind that doubling the recipe doesn't mean doubling the time. We'll cover that in the next section.
Adjusting Your Batch Size
Whether you're cooking for two or ten, you can adjust this recipe without ruining the texture. The key is managing the volume of the pan.
For a smaller batch (half size), use an 8x8 or 9x9 inch square pan. You'll need to reduce the baking time by about 20% because there is less thermal mass in the oven. I recommend beating one egg and using half of it if you're adding a binder, though this recipe doesn't require one.
When scaling up (double batch), do not use one massive deep pot. Instead, use two 9x13 dishes. If you crowd too much rice into one deep pan, the bottom layer will turn to mush before the top layer is cooked.
Keep the liquids and spices to about 1.5x the original amount for a double batch, as large volumes of liquid evaporate more slowly.
If you're baking a double batch in one very large professional pan, lower the temperature to 325°F (160°C) and extend the covered bake time by 15 minutes. This prevents the edges from burning while the center catches up.
To make a quick decision on how to tweak the final result, use this guide:
- If you want more veg → Fold in 1 cup of frozen peas to the rice base.
- If you want a crust → Top with Panko crumbs and melted butter before the final 20 mins.
- If you're low on time → Use pre cooked rice and reduce the broth by half.
Debunking Casserole Myths
There are a few things people tell you about oven bakes that just aren't true. Let's clear them up.
One common myth is that you need to sear the chicken in a pan before putting it in the casserole. While this adds a bit more flavor, it's not necessary for the cook. The two stage bake (covered then uncovered) handles the browning just fine, and skipping the sear saves you a pan and 10 minutes of work.
Another misconception is that "brown rice is a direct swap." It's not. Brown rice takes significantly longer to hydrate. If you swap them without adding more liquid and time, you'll end up with crunchy grains. Always adjust your broth and timer when switching grains.
Finally, some say you should stir the rice halfway through. Don't do this. Stirring breaks the grains and releases more starch, which leads to that mushy texture we're trying to avoid. Let it sit and steam.
Storage And Leftover Tips
This Chicken Rice Casserole is actually one of those rare dishes that tastes better the next day. The flavors have more time to meld, and the rice sets into a firmer, more sliceable structure.
Store leftovers in an airtight container in the fridge for up to 4 days. When reheating, the rice tends to soak up the remaining moisture, so add a splash of water or chicken broth before microwaving. Heat in 2 minute bursts, stirring gently, until it's steaming.
For freezing, let the casserole cool completely. Cut it into individual squares and wrap them in foil, then place them in a freezer bag. They'll stay good for about 3 months. To reheat from frozen, it's best to bake them at 325°F (160°C) for 20-30 minutes, covered with foil.
Regarding zero waste, don't toss those onion peels or the ends of your garlic cloves. Toss them into a freezer bag with other veggie scraps. Once the bag is full, simmer them in water for two hours to make a basic vegetable stock for your next meal.
Best Way To Serve
Since this is a rich, creamy dish, you need something bright and acidic to balance the plate. A simple arugula salad with a lemon vinaigrette is the gold standard here. The peppery greens and citrus cut right through the sour cream and mushroom base.
If you want a more substantial side, steamed broccoli or roasted carrots work well. Avoid serving this with more starch, like mashed potatoes or garlic bread, as it'll make the meal feel too heavy.
For those who love bold flavors, a drizzle of Sriracha or a sprinkle of fresh parsley on top adds a nice visual and taste contrast. If you're in the mood for something even more aromatic for your next chicken night, try an easy homemade butter chicken for a completely different flavor profile.
The beauty of this Chicken Rice Casserole is its versatility. You can serve it as a rustic family dinner or slice it into neat squares for a potluck. Just remember to let it rest before serving, and you'll have a meal that is as comforting as it is efficient.
Recipe FAQs
Should you cook rice before you put it in a casserole?
No, use raw, rinsed rice. The grains cook directly in the chicken broth and cream of mushroom soup throughout the baking process.
How do you bake chicken thighs in a rice dish?
Season the meat and place it on top of the rice mixture. Bake covered at 350°F for 30 minutes, then uncover for 20 minutes to brown the tops.
Is it true that frozen chicken thighs can be used without thawing?
No, this is a common misconception. Frozen meat lowers the internal oven temperature and releases excess moisture, resulting in mushy rice and undercooked chicken.
What is the best way to cook skinless chicken thighs for this recipe?
Toss them in olive oil and seasonings before adding to the dish. This ensures full flavor coverage and helps the meat brown during the final uncovered bake.
Why is my rice coming out mushy?
You likely skipped rinsing the rice. Surface starch stays on the grain if not rinsed, creating a glue like consistency.
Why is the chicken pale after baking?
The foil was likely removed too early or the oven temperature was too low. The final 20 minutes are essential for achieving the roasted sear.
What can I do with two pounds of boneless chicken thighs?
Make this Chicken Rice Casserole. This quantity is perfectly proportioned for an 8-serving tray. If you enjoy these efficient one-pan meals, you may also like our freeze dried meal for long term storage.
Chicken Rice Casserole