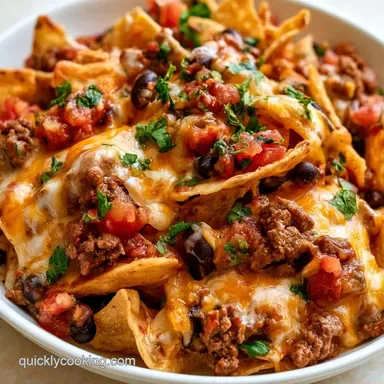
Dorm Room Nachos: 6-Minute Microwave Meal
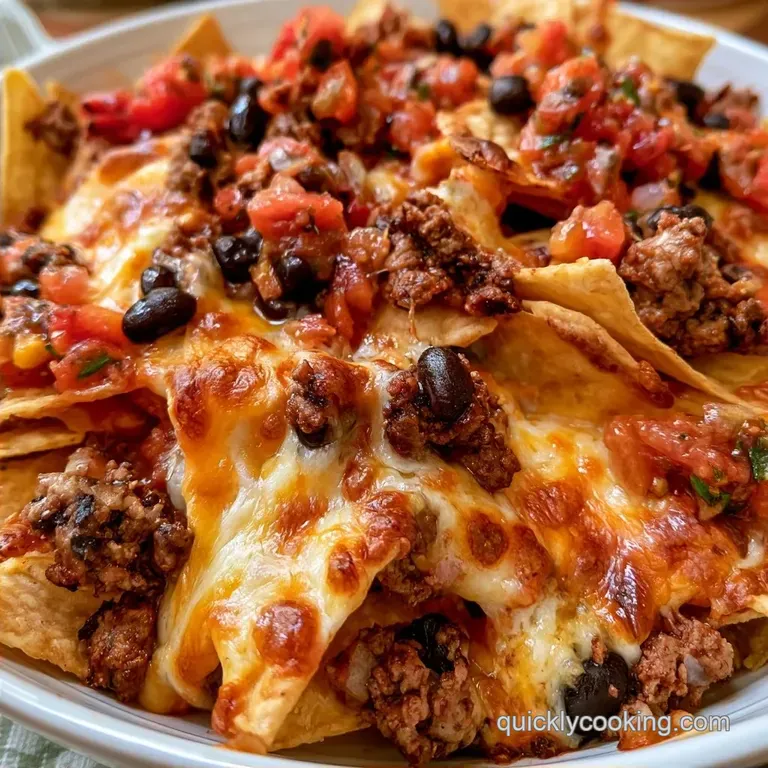
- Time: 5 min active + 2 min cook
- Flavor/Texture Hook: Salty crunch with silky melted cheese
- Perfect for: Late night study sessions or budget-friendly snacks
The smell of sharp cheddar bubbling on a paper plate is the official scent of a late night study session. Most people just throw a handful of chips and a slice of processed cheese in the microwave, but that usually ends in a soggy, lukewarm mess.
I spent my first year of college figuring out how to make actual meals with only a microwave and a mini fridge. The goal was always the same: maximum flavor with zero real kitchen tools.
These Dorm Room Nachos are the result of a few trial and error sessions. They hit that craving for something salty and filling without requiring a stove or an expensive delivery fee.
Dorm Room Nachos: Fast Microwave Version
The trick to making these work is the "stack." If you just pile everything on top, the bottom chips stay cold and the top ones burn. By layering, the heat distributes evenly.
Why This Quick Snack Works
- The Layering Technique: Creating two thin tiers of cheese and protein prevents the "cold center" problem common in microwave cooking.
- Cheese Blending: Using both cheddar and mozzarella provides a balance between a sharp taste and a stretchy, gooey pull.
- Moisture Control: Adding the salsa and sour cream after heating stops the chips from absorbing liquid and turning mushy.
Depending on what you have available, you might choose different heating methods. Here is how they compare for this specific snack.
| Method | Time | Texture | Best For |
|---|---|---|---|
| Microwave | 2 mins | Soft melted | Speed and convenience |
| Oven | 10 mins | Toasted/Crisp | Larger groups |
| Stovetop | 15 mins | Gooey/Controlled | Custom cheese sauces |
Using the right components ensures you don't end up with a plate of oil. Most cheap shredded cheeses have potato starch to prevent clumping, which actually helps them melt more evenly in a microwave.
Ingredient Deep Dive
| Component | Purpose | Substitute Notes |
|---|---|---|
| Sturdy Chips | Base structure | Tortilla strips: More crunch, less surface area |
| Sharp Cheddar | Primary flavor | Pepper Jack: Adds a spicy kick |
| Mozzarella | Stretch/Bind | Monterey Jack: Similar melt, milder taste |
| Ground Beef | Protein/Satiety | Canned chili: More sauce, higher sodium |
For the best results, make sure your beef is already cooked. If you try to cook raw meat in the microwave with the chips, the chips will be soggy long before the meat is safe to eat.
The Shopping List
- 4 cups (100g) sturdy tortilla chips Why this? Thicker chips handle the weight of the toppings better
- 1 cup (115g) shredded sharp cheddar cheese Why this? Provides the classic nacho punch
- 1/2 cup (115g) shredded mozzarella cheese Why this? Gives the cheese that long, stretchy pull
- 1/2 cup (125g) lean ground beef, pre cooked and seasoned Why this? Adds heartiness to the snack
- 1/2 cup (130g) canned black beans, rinsed and drained Why this? Cheap protein and a nice earthy contrast
- 2 tbsp (30ml) chunky salsa Why this? Adds acidity and moisture
- 1 tbsp (15g) pickled jalapeño slices Why this? Cuts through the fat of the cheese
- 1 tbsp (15g) chopped fresh cilantro Why this? Brightens the whole dish
- 1 tbsp (15g) sour cream Why this? Adds a cooling element
Gear You'll Need
This recipe requires minimal equipment. The primary requirement is a microwave safe plate; I suggest using ceramic rather than paper, as paper can warp or soak through if the cheese becomes too oily. You'll also need a fork for layering and a small bowl for your pre-measured toppings.
Putting It All Together
- Arrange a single layer of tortilla chips on your microwave safe plate. Note: Don't overlap them too much or you'll get cold spots
- Sprinkle one third of the shredded cheese evenly across the chips.
- Top the cheese with a thin layer of the seasoned beef and black beans.
- Sprinkle another third of the cheese over the beef and beans.
- Add the remaining beef and black beans in a second thin layer.
- Cover everything with the final third of the shredded cheese.
- Microwave on high for 45 to 60 seconds until the cheese looks glossy and begins to bubble.
- Remove the plate carefully.
- Immediately dollop the salsa, jalapeños, and sour cream over the melted cheese.
- Garnish with fresh cilantro and serve.
Fixing Common Issues
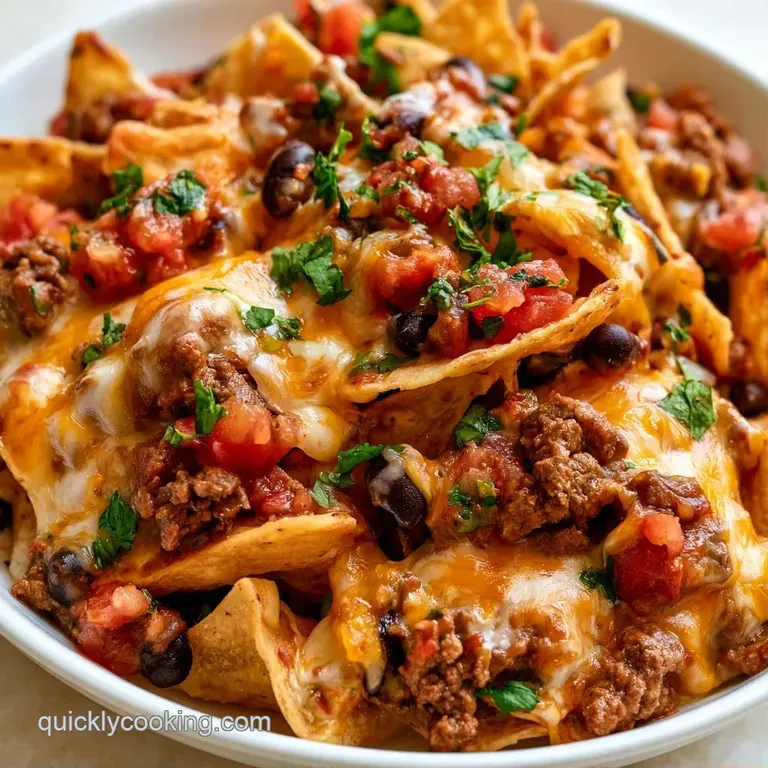
The biggest challenge with microwave cooking is heat distribution. Because microwaves excite water molecules, they can create "hot spots" where the cheese burns while other areas remain frozen.
Preventing Rubberized Cheese
If you heat the cheese for too long, the proteins tighten and squeeze out the fat. This results in a rubbery texture and a pool of oil on your plate. Stop the microwave the second the cheese looks liquid.
Avoiding the Soggy Bottom
This happens when wet ingredients, like salsa, are added before the heating process. The chips absorb the moisture and lose their snap. Always add "wet" toppings after the heat is off.
Managing Uneven Melting
If you have a microwave with a rotating turntable, keep the chips centered. If you don't have a turntable, stop the microwave halfway through and rotate the plate manually.
| Problem | Fix |
|---|---|
| Cheese is oily | Reduce heat time by 10 seconds |
| Chips are soggy | Layer toppings thinner; add salsa last |
| Cold spots | Rotate plate halfway through |
Changing the Ingredients
Depending on your dietary needs or budget, feel free to customize these ingredients. For a more substantial meal, give these college ground beef nachos a try, which utilize a different approach to protein.
Boosting the Protein
Swap the beef for canned chickpeas or shredded rotisserie chicken. If using chickpeas, ensure they are well dried so the chips remain crisp.
Going Plant Based
Try a vegan shred blend. Keep in mind that plant based cheeses usually require an additional 30-60 seconds to melt than dairy versions, so watch the chips closely.
Making it Breakfast Style
Use crumbled breakfast sausage instead of beef and diced boiled potatoes instead of black beans. Top the dish with Greek yogurt rather than sour cream.
If you need more quick recipes, my [microwave dorm oatmeal](https://quicklycooking.com/recipes/microwave dorm-oatmeal/) is another great way to start your morning using the same basic tools.
| Premium Ingredient | Budget Alternative | Impact | Savings |
|---|---|---|---|
| Fresh Guacamole | Mashed Avocado | Less seasoning, same creaminess | $2-3 |
| Organic Beef | Canned Chili | More sauce, slightly saltier | $1-2 |
| Artisan Chips | Store Brand Corn Chips | Slightly less flavor, more volume | $1-3 |
Adjusting the Portion Size
When making Dorm Room Nachos for a group, don't just pile more on one plate. The microwave can't penetrate a thick mountain of chips, and you'll end up with raw cheese in the middle.
Scaling Down (1-2 servings): Use a smaller side plate. Reduce the microwave time to 30-45 seconds to avoid overheating the smaller mass.
Scaling Up (4+ servings): Work in batches. Use two or three plates simultaneously if your microwave is large enough, but remember that adding more food increases the cooking time. Increase the microwave time by about 15-20 seconds per extra plate.
Decision Shortcut:
- Extra heat? → Add 1 tsp cayenne to the beef.
- More crunch? → Use thick cut corn chips.
- Creamier base? → Stir 1 tbsp cream cheese into the beef.
Debunking Nacho Myths
Some people think you need an oven to get "real" nachos. While an oven gives a toasted finish, a microwave is actually better at keeping the cheese if you don't overcook it.
Another common myth is that you should put the salsa under the cheese to "infuse" the flavor. In reality, this just steams the chips from the inside out, turning your snack into a soggy mess within two minutes.
Storage and Waste Tips
Since these are assembled on a plate, they aren't great for storage. However, you can prep the components. Keep the pre cooked beef and rinsed beans in a container for up to 3 days.
To avoid waste, use any leftover cilantro by blending it into a quick pesto or chopping it into your morning eggs. If you have leftover sour cream, it works as a great thickener for other microwave sauces.
Serving Your Nachos
The best way to eat Dorm Room Nachos is immediately. The moment the cheese begins to set, the experience changes.
The Study Group Platter
If you're sharing, use a large microwave safe platter. Instead of layering, create "zones" of toppings so everyone can pick their favorite combination.
The Balanced Pair
To make this a more complete meal, serve it with a side of raw carrot sticks or sliced cucumbers. The fresh crunch of the vegetables balances the richness of the melted cheese and beef.
Recipe FAQs
Why do my chips get soggy?
Avoid overcooking. Microwave on high for 45 to 60 seconds only. Stop the timer the moment the cheese bubbles to maintain the crunch.
Does using only cheddar produce the best melt?
Actually, no. Mixing sharp cheddar with mozzarella ensures a glossier finish and a more consistent stretch across the plate.
How to prevent cold spots in the middle?
Build in layers. Arrange chips in a single layer and repeat the cheese and beef/bean topping twice to create a stacked architecture.
Can I store assembled nachos?
No, serve them immediately. The chips soften quickly once heated. For other lightning fast meal options, try our microwave mug mac.
Is it true that only an oven provides a professional crisp?
This one's false: A microwave works perfectly if you remove the plate as soon as the cheese looks glossy.
Dorm Room Nachos