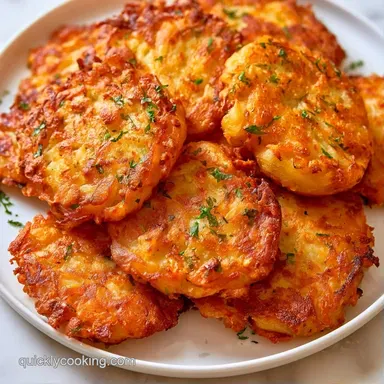
Easy Swedish Potato Cakes: Golden Crust
- Time: 15 minutes prep + 30 minutes frying
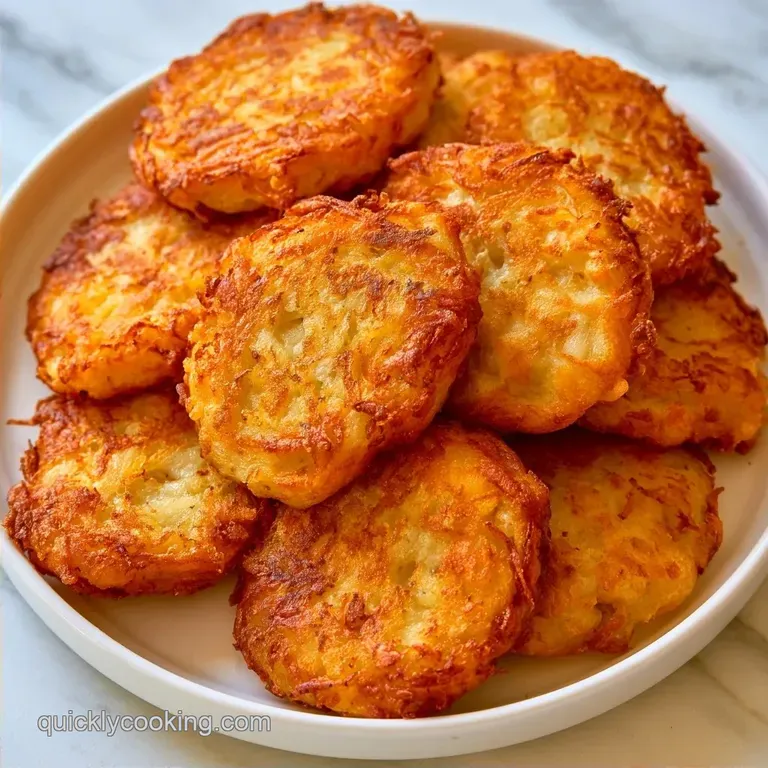
- Key Highlight: A deep mahogany crust with a savory, salty center
- Perfect for: affordable mid-week meals or a filling side dish
Making Easy Swedish Potato Cakes
Ever wonder why the potato pancakes at IKEA have that specific, dark mahogany crust while the ones you make at home often turn out pale and limp? It's not a fancy industrial fryer. It's actually a very simple interaction between the potato starch and the fat in the pan.
Most people treat these like American hash browns, but the Swedish approach is different.
I used to just throw everything in a bowl and hope for the best, but the result was always a mushy mess. Once I realized that the water inside a potato is the enemy of a crisp edge, everything changed. You don't need professional gear to get this right, just a bit of patience with a kitchen towel.
These Easy Swedish Potato Cakes, known traditionally as Raggmunk, are meant to be humble. They aren't trying to be a gourmet delicacy. They're just salty, fried, and incredibly satisfying.
We're going for a result that's sturdy enough to hold a topping but tender enough that you don't need a steak knife to cut through them.
The Essential Recipe Specs
When you're working with potatoes, precision with heat is more important than precision with measurements. You want the butter to be just on the edge of browning. If the pan is too cold, the cakes soak up the oil like a sponge. If it's too hot, the outside burns before the flour in the middle cooks through.
For those who want a different vibe, you can actually bake these, though you lose that characteristic fry up flavor. To keep things efficient, I recommend the stovetop method for the best results.
| Method | Time | Texture | Best For |
|---|---|---|---|
| Stovetop | 30 min | Shattering crisp edges | Authentic flavor |
| Oven | 45 min | More uniform, softer | Large batches |
Since we're focusing on a budget smart approach, remember that these cakes thrive on basic pantry staples. You don't need organic, heirloom potatoes here. Standard Russets do the job just fine because their high starch content is what creates that golden crust.
Why Most Recipes Get This Wrong
Most people fail here because they leave too much water in the mix. When water hits hot oil, it turns to steam, which pushes the batter away from the heat and prevents a sear.
The Starch Management: Patting the potatoes dry concentrates the natural starches. This allows the surface to brown quickly, similar to how my KFC Potato Wedges recipe relies on a dry surface for that crunch.
The Fat Blend: Using only butter means the milk solids burn at 350°F. Mixing it with a neutral oil raises the smoke point, so you can get that deep brown color without the bitter taste of burnt butter.
Gathering Your Essentials
For a budget friendly meal, the goal is to use a few high impact ingredients. You don't need a dozen spices. The flavor comes from the caramelization of the potato and the salt.
| Ingredient | What It Does | Best Swap |
|---|---|---|
| Russet Potatoes | Provides the structure and starch | Yukon Gold (creamier, less crisp) |
| All purpose Flour | Binds the moisture | Oat flour (denser, nuttier) |
| Whole Milk | Adds richness and softness | Unsweetened almond milk (lighter) |
| Egg | Sets the batter so it doesn't break | Flax egg (more fragile texture) |
The Produce
You'll need 2 lbs (900g) of potatoes. Russets are the standard for a Raggmunk recipe because they are lean and starchy. If you use waxy red potatoes, the cakes might turn out too gummy.
The Pantry Binders
The ½ cup (65g) of all purpose flour acts as the glue. I usually keep a bag of store brand flour for this since it's a simple binder. The 1 large egg and ½ cup (120ml) of whole milk create a batter that's thick but still pourable.
The Seasoning and Fat
Don't skimp on the 1 tsp (6g) of salt and ½ tsp (1g) of black pepper. Potatoes absorb salt quickly, so you need more than you think. For the pan, 4 tbsp (55g) of unsalted butter and 2 tbsp (30ml) of neutral oil (like canola or vegetable) are essential for that deep sear.
Equipment Needed
You only need a few basics: a heavy skillet and a box grater. If you have a food processor with a grating attachment, definitely use it; it cuts a 10 minute task down to just 30 seconds.
I recommend a cast iron skillet for its superior heat retention when the cold batter hits the surface. Lighter, non-stick options often lose heat too quickly, preventing that perfect mahogany crust. Don't forget a clean kitchen towel to dry your potatoes.
Chef's Note: Be careful when pulsing in the food processor. Aim for shreds rather than a puree. If the mixture turns into a paste, your cakes will be dense and heavy rather than light and lacy.
From Prep to Plate
Time to begin the cooking process. To keep things moving quickly and efficiently, ensure all your ingredients are measured before you turn on the heat.
Phase 1: Prepping the Base
- Using the large holes of a box grater, grate the 2 lbs of potatoes.
- Move the shreds into a large bowl and pat them dry with a clean kitchen towel Note: This removes the excess water that causes sogginess.
- Mix in the flour, salt, and black pepper until the potatoes are fully coated.
Phase 2: Mixing the Batter
- Whisk in the milk and beaten egg.
- Stir until the batter is thick and cohesive, making sure there are no large clumps of flour.
- Let the mixture rest for 2 minutes Note: This allows the flour to hydrate for a better bind.
Phase 3: The Golden Sear
- Warm the oil and butter in a skillet over medium heat until the butter foams and smells nutty.
- Spoon approximately ⅓ cup of batter per cake into the pan.
- Press them down with the back of a spoon to ensure they make full contact with the surface.
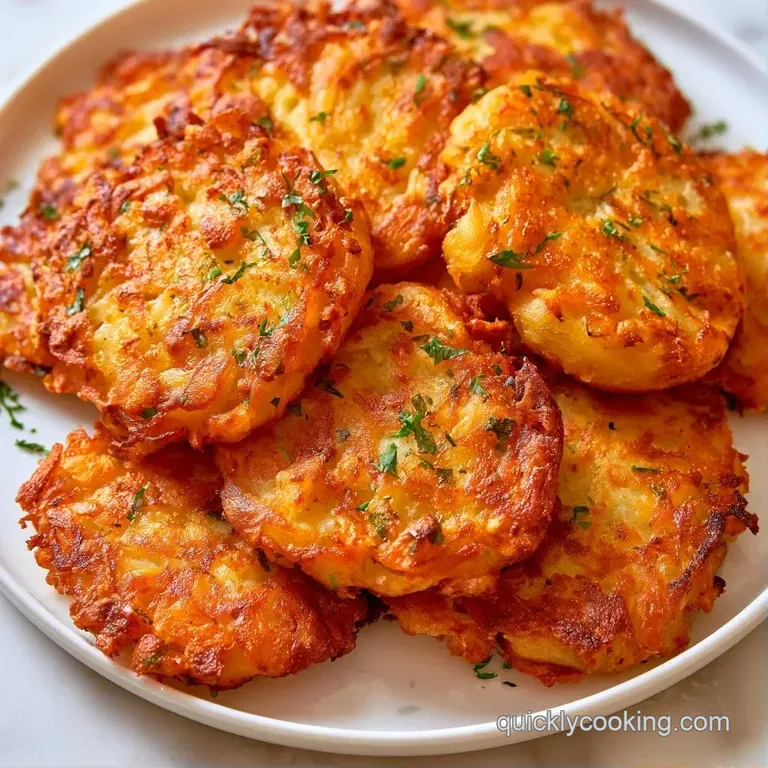
- Fry for 3–4 minutes per side until a deep mahogany colored crust forms.
- Move the finished cakes to a plate lined with paper towels to drain.
Precision Checkpoints:
- Pan Temp: Butter should foam immediately upon adding the batter.
- Portion Size: Exactly ⅓ cup per cake for consistent 3-4 minute cook times.
- Visual Cue: Look for a dark brown, not just golden, color before flipping.
Avoiding Kitchen Disasters
Even the most basic recipes can run into trouble, typically due to moisture or temperature imbalances. If your cakes turn out greasy, you may have overcrowded the pan. Leave a few inches of space between each cake to allow steam to evaporate.
Fixing Undercooked Centers
If the middle remains raw, your heat is likely too high. This causes the exterior to brown too quickly while the center stays underdone. Lower the heat slightly and cook for an additional minute per side.
Avoiding Crumbling Cakes
When cakes fall apart, it is usually because the potatoes contained too much moisture or the pan wasn't hot enough to "set" the egg instantly. Ensure the oil is shimmering before adding the first scoop to the pan.
Managing Charred Edges
If the butter begins to blacken, your pan is overheating. Stir in a splash of neutral oil to help stabilize the temperature.
| Problem | Root Cause | Solution |
|---|---|---|
| Soggy Texture | Excessive potato moisture | Pat shreds drier with a towel |
| Falling Apart | Pan temperature too low | Wait for butter to foam/shimmer |
| Burnt Exterior | Heat too high | Reduce to medium; add more oil |
Mix It Up
These Swedish Potato Cakes are incredibly versatile. If you want to move beyond the traditional recipe, here are a few ways to customize the batter.
For a savory twist: Stir in a tablespoon of grated Parmesan or some chopped chives. This adds a salty depth that pairs perfectly with sour cream.
For a gluten-free version: Substitute the all-purpose flour with a 1:1 gluten-free alternative. While the texture becomes slightly softer, they still finish with a great crunch.
For a different starch: You can make these Swedish Potato Cakes with Mashed Potatoes by mixing the flour and egg into chilled leftover mash. This creates a croquette like result creamy on the inside and crisp on the outside.
To turn this into a full meal, these cakes are the perfect companion for a Vegetarian Swedish Meatball Sauce recipe. The creamy sauce helps balance the richness of the fried potato.
Decision Shortcut:
- For a firmer set: let the batter chill for 30 minutes before frying.
- For a crispier edge: increase the ratio of oil to butter.
- For faster prep: utilize the grating disk of a food processor.
Keeping It Fresh
While fried treats are ideal when fresh, you can certainly store them. Arrange any extra cakes in a single layer on a plate and cover with foil or a loose lid. These will last in the refrigerator for up to 2 days.
Skip the microwave for reheating to prevent them from becoming rubbery. Instead, warm them in a dry skillet over medium heat for 2 minutes per side. This method restores the crunch without needing more oil.
To use every bit of your produce, take the potato peels from the prep work and coat them in a little oil and salt. Roast them at 400°F for 10 minutes for a simple, salty snack.
What to Serve This With
The traditional pairing for Raggmunk is fried pork belly and lingonberry jam. The salty meat and tart berries create a balance that makes the potato cakes shine.
If you want something lighter, a dollop of cold sour cream and a sprinkle of fresh dill work wonders. The acidity of the cream cuts through the oil, making the dish feel less heavy.
For a modern twist, try topping them with a poached egg and a drizzle of sriracha. The runny yolk acts as a rich sauce, turning these into a legitimate brunch dish.
Common Starch Myths
A lot of people think you need to soak the potatoes in water to remove starch for crispiness. That's true for French fries, but not for these cakes. In a Raggmunk recipe, we actually want some of that starch to stay; it helps the cakes bind together without needing too much flour.
Another myth is that you should use a non stick pan for easy cleanup. While it's easier to wash, you won't get the same deep mahogany color. The interaction between the potato starch and the metal of a cast iron or stainless steel pan is what creates that specific crust.
Finally, some say you must use a specific "Swedish" potato. In reality, any high starch potato works. The method drying the shreds and using a butter oil blend is far more important than the specific brand of potato you buy.
Recipe FAQs
What is the secret to getting a crisp mahogany crust?
Pat the grated potatoes completely dry with a kitchen towel. Removing excess moisture prevents the batter from steaming, which allows the potato starch to fry and brown properly in the pan.
How do you stop potato patties from falling apart?
Fry for 3 4 minutes per side without flipping too early. Waiting for the mahogany crust to form ensures the egg and flour have fully set the structure of the cake.
Is it true you must use a food processor for the potatoes?
Surprisingly, no. A box grater with large holes works just as well and often prevents the potatoes from becoming overly mushy compared to a blade.
Why do these cakes sometimes turn out soggy?
The pan temperature is likely too low. Heat the butter and oil until the butter foams and smells nutty to ensure the cakes sear immediately instead of absorbing fat.
Which other Swedish style dishes pair well with these?
Swedish meatballs are the traditional pairing. If you enjoyed mastering the searing technique here, see how the same principle works in our chicken gnocchi soup.
Easy Swedish Potato Cakes