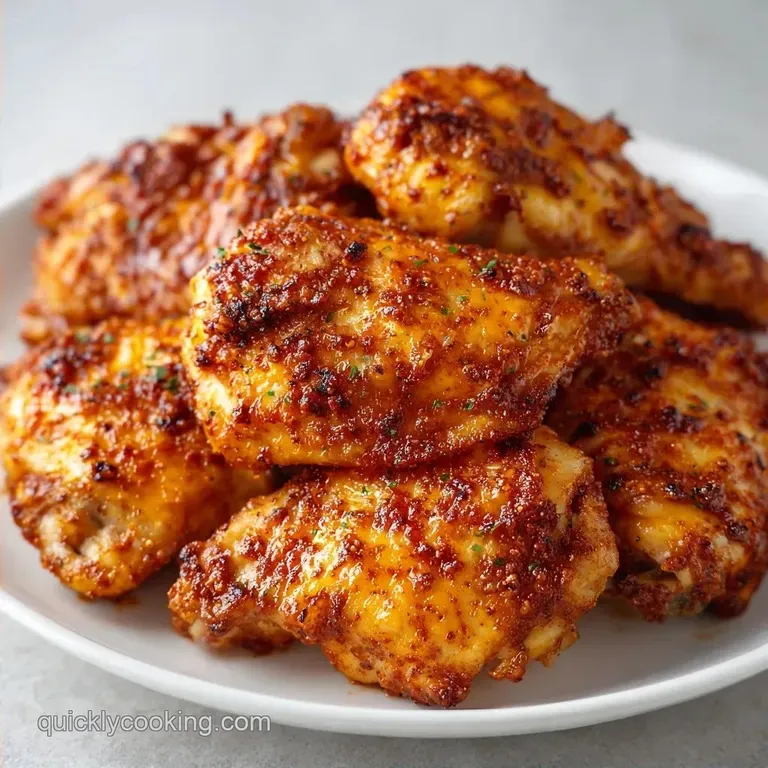
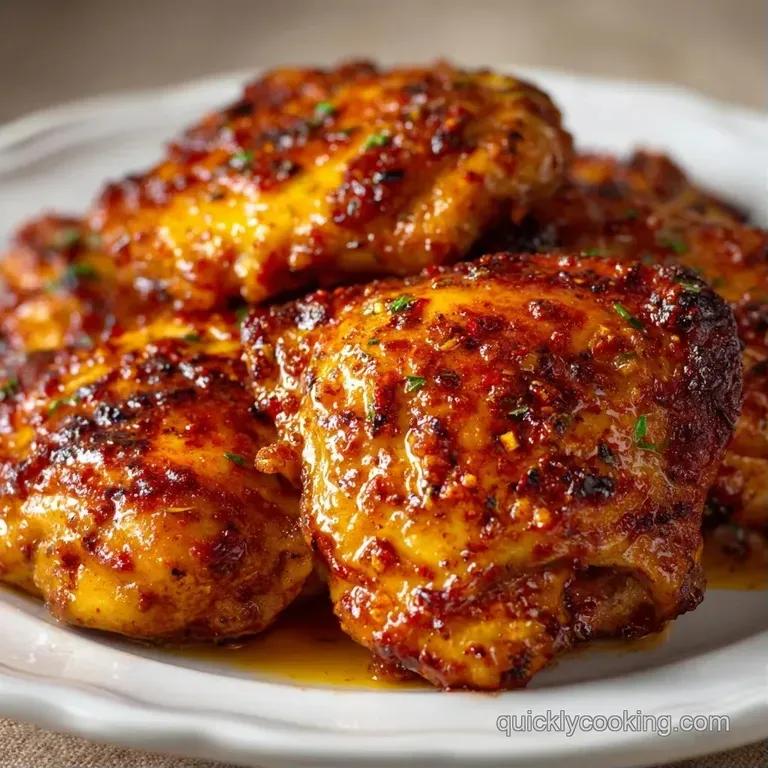
Oven Chicken Thighs: Shatteringly Crisp
- Time:10 minutes active + 40 minutes roasting
- Flavor/Texture Hook: Smoldering paprika with a shatter crisp skin
- Perfect for: High speed weeknight dinners or meal prep
- Easy Oven Chicken Thighs Guide
- My Rubber Chicken Era
- How the Heat Works
- Component Analysis
- Gathering Your Essentials
- Tools for the Job
- Step by Step Guide
- Common Fixes and Tips
- Troubleshooting Common Issues
- Adjusting the Batch Size
- Debunking Chicken Myths
- Storage and Saving Scraps
- Serving Your Plates
- Recipe FAQs
- 📝 Recipe Card
Easy Oven Chicken Thighs Guide
That loud, aggressive sizzle when the chicken hits the heat is my favorite sound in the kitchen. There is nothing quite like the aroma of smoked paprika and garlic hitting 425°F air, filling the house with a scent that practically screams "dinner is ready." I can still remember the first time I actually got the skin to shatter instead of chew, and it felt like a total victory.
Most people struggle with the "flab factor," where the skin stays rubbery and the meat gets boiled in its own juices. Trust me, I've been there. For a long time, I thought low and slow was the way to go, but that's a lie when it comes to thighs.
You need heat, you need airflow, and you need a bit of patience during the resting phase.
This recipe is all about efficiency. We aren't doing any fancy searing or flipping. We're using a high temp blast to render the fat quickly. These Oven Chicken Thighs are the gold standard for someone who wants a "fancy" result with almost zero active effort. Let's crack on.
My Rubber Chicken Era
I used to be the king of the "rubbery skin." I'd throw my chicken in a baking dish, pour some oil over it, and slide it into a 350°F oven. I thought I was being gentle with the meat. What I was actually doing was steaming the chicken in a pool of its own rendered fat. The result?
Pale, flabby skin and meat that felt like it had been boiled. It was honestly depressing.
The breakthrough happened when I stopped treating the oven like a slow cooker and started treating it like a furnace. I realized that the skin is basically a layer of fat and protein that needs to be dehydrated and then scorched.
By moving the chicken to a wire rack, I stopped the "pool effect." The air could finally hit the bottom of the meat, and the fat could drip away, leaving only the crispiness behind.
Once I figured out the rack trick, everything changed. I stopped worrying about "sealing in juices" (which is a myth, by the way) and started focusing on surface moisture. Now, I don't even think about using a baking dish for this. If you want that shatter crisp texture, you have to let the chicken breathe.
How the Heat Works
Since we're going for speed and texture, there are a few specific things happening here. It's not magic, just some basic kitchen logic.
- Surface Drying: Removing water from the skin allows the heat to start browning the protein immediately instead of wasting energy evaporating water.
- Airflow: A wire rack prevents the chicken from sitting in its own grease, which keeps the bottom from getting soggy.
- over High heat Rendering: 425°F is the sweet spot that melts the subcutaneous fat quickly, frying the skin from the inside out.
- Carryover Cooking: Removing the meat at 175°F allows the internal temperature to stabilize, ensuring the meat stays velvety.
| Method | Time | Texture | Best For |
|---|---|---|---|
| Fast (Rack) | 40 mins | Shattering skin | Busy weeknights |
| Classic (Pan) | 60 mins | Softer skin | Braising/Sauces |
Component Analysis
Before we get into the list, let's look at why these specific ingredients are in the mix. I don't add things just for the sake of it.
| Ingredient | Science Role | Pro Secret |
|---|---|---|
| Smoked Paprika | Color & Depth | Gives a "grilled" look without a grill |
| Sea Salt | Moisture Draw | Draws water out of skin for better crisp |
| Olive Oil | Heat Conductor | Helps spices stick and boosts heat transfer |
| Garlic Powder | Concentrated Flavor | Won't burn as fast as fresh minced garlic |
Gathering Your Essentials
Right then, here is what you need. Don't bother with low-fat substitutes here. We want the fat from the skin to do the heavy lifting.
- 2 lbs bone in, skin on chicken thighs Why this? More flavor and harder to overcook than breasts
- 1 tbsp extra virgin olive oil Why this? High smoke point and clean flavor
- 1 tsp fine sea salt Why this? Dissolves quickly for even seasoning
- ½ tsp black pepper Why this? Adds a necessary bite to the fat
- 1 tsp garlic powder Why this? Even coverage without burning
- 1 tsp smoked paprika Why this? For that deep, reddish gold color
- ½ tsp dried oregano Why this? Earthy contrast to the smoky notes
If you're out of smoked paprika, regular paprika works, but you'll lose that charred, outdoor vibe. For the salt, according to Serious Eats, using a finer salt ensures better penetration into the skin.
| Original Ingredient | Substitute | Why It Works |
|---|---|---|
| Smoked Paprika | Regular Paprika | Similar color. Note: Lacks the woody, smoky depth |
| Dried Oregano | Dried Thyme | Similar earthy profile. Note: Slightly more floral |
| Olive Oil | Avocado Oil | Higher smoke point. Note: Neutral flavor, very safe |
If you're looking for a side to go with these, they pair beautifully with some Sourdough Garlic Knots to soak up the juices.
Tools for the Job
You don't need a professional kitchen for this. In fact, the simpler the better.
- Large rimmed baking sheet: This catches all the drippings.
- Aluminum foil: Because scrubbing a pan is a waste of your life.
- Wire cooling rack: The absolute MVP of this recipe.
- Paper towels: For the critical "dry down" phase.
- Meat thermometer: The only way to be 100% sure it's done.
Step by step Guide
Let's get these Oven Chicken Thighs moving. Keep an eye on the clock and the color.
Phase 1: The Prep and Dry Down
- Preheat your oven to 425°F (218°C). Line a large rimmed baking sheet with foil and place your wire rack on top. Note: The rack creates the airflow needed for crispiness.
- Pat the chicken thighs bone dry using paper towels. Until the skin feels tacky, not wet.Note: Any moisture left on the skin will steam the chicken instead of roasting it.
Phase 2: Seasoning for Maximum Impact
- Mix the salt, pepper, garlic powder, smoked paprika, and dried oregano in a small bowl.
- Rub the olive oil over each thigh. Until the skin is glistening.
- Coat the chicken generously with the spice blend. Note: Use your fingers to push some seasoning under the skin for deeper flavor.
Phase 3: The over High heat Roast
- Place thighs skin side up on the rack. Ensure they aren't touching.
- Roast for 35-40 minutes. Until the skin is deep golden brown and an instant read thermometer hits 175°F (79°C).
Phase 4: The Essential Rest
- Move the chicken to a plate. Wait 5-10 minutes.Note: This allows the juices to move back into the meat fibers.
Common Fixes and Tips
Even with a simple recipe, things can go sideways. Most issues come down to temperature or moisture.
Troubleshooting Common Issues
| Issue | Solution |
|---|---|
| Why Your Skin Is Rubbery | This usually happens because the oven wasn't hot enough or the chicken was too wet. If you don't pat the skin dry, the water turns to steam, which acts as a barrier against the browning process. |
| Why Your Meat Is Dry | You probably skipped the rest or overcooked it. Bone in thighs are forgiving, but once you pass 185°F, you're losing that velvety texture. |
| Why The Bottom Is Soggy | You likely used a baking dish instead of a rack. Without air circulating underneath, the bottom of the chicken just sits in grease. |
The "No Fail" Checklist:
- ✓ Skin is patted bone dry before oiling.
- ✓ Chicken is elevated on a wire rack.
- ✓ Oven is fully preheated to 425°F.
- ✓ Meat is rested for at least 5 minutes.
- ✓ Internal temp is checked at the thickest part.
Adjusting the Batch Size
Scaling this is easy, but don't just multiply everything blindly.
Scaling Down (2-3 Thighs): Use a smaller sheet pan so the heat stays concentrated. You can usually reduce the roast time by about 5 minutes, but always rely on the internal thermometer.
Scaling Up (8-12 Thighs): Work in batches if your pan is crowded. If the thighs are touching, they'll steam each other and you'll lose the crispiness. For the spices, only increase to 1.5x the amount; too much salt can make the meat taste metallic when scaled linearly.
If you're doing a massive batch for a party, lower the oven temp to 400°F and add 10 minutes to the time. This prevents the outside from burning before the centers of the crowded pan are done.
Debunking Chicken Myths
Let's set the record straight on a few things I used to believe.
The "Juice Seal" Myth: Many people think searing meat "seals in" the juices. It doesn't. Moisture loss happens throughout the entire cooking process. Searing is for flavor (the browning of proteins), not for moisture retention.
The "Room Temp" Myth: Some say you must let chicken reach room temperature before roasting. In reality, with a over high heat method like this, it doesn't make a noticeable difference in the final internal temp. Just keep it cold until it's time to season.
Storage and Saving Scraps
These Oven Chicken Thighs are great for meal prep. Store them in an airtight container in the fridge for up to 4 days.
Reheating for Crispiness: Don't use the microwave it'll turn the skin into a sponge. Use an air fryer at 350°F for 4 minutes or a toaster oven. This brings back that shatter crisp texture.
Zero Waste Tip: Don't throw away those bones! Once you've eaten the meat, toss the bones into a pot with water, carrots, and celery. Simmer for a few hours to make a rich stock. If you have extra cooked thighs, they're a killer addition to a Chicken Gnocchi Soup the next day.
Serving Your Plates
To keep this meal from feeling like "just another chicken dinner," focus on the contrast. The chicken is rich, salty, and smoky, so you need something bright to cut through that fat.
I love serving these with a sharp arugula salad with lemon vinaigrette or some roasted root vegetables. If you want a more comforting vibe, a scoop of buttery mashed potatoes is the way to go.
Decision Shortcut:
- If you want a light meal → serve with steamed asparagus and lemon.
- If you want a feast → serve with garlic mash and sautéed spinach.
- If you're meal prepping → pair with quinoa and roasted broccoli.
Place the chicken on a warm plate and drizzle any leftover pan juices over the meat right before serving. It adds a final layer of richness that ties the whole dish together. Trust me on this the rest period is the most important part for the texture. Enjoy!
Recipe FAQs
Is it better to bake chicken thighs at 400 or 425?
425°F is the better choice. This high heat renders the fat more efficiently and creates a shatter crisp skin that you won't get at 400°F.
How to cook chicken thighs in the oven with bones?
Place thighs skin side up on a wire rack over a foil lined baking sheet. Roast at 425°F for 35-40 minutes until the internal temperature reaches 175°F.
How long do you cook baked chicken thighs?
Roast for 35-40 minutes. Ensure the skin is deep golden brown and let the meat rest for 5-10 minutes before serving to keep the juices inside.
Is it true that skinless chicken thighs are the best way to get a crispy result?
No, this is a common misconception. Crispiness comes from the skin rendering; skinless thighs cannot achieve a shatter crisp texture in the oven.
How to cook boneless and skinless chicken thighs in an oven?
Reduce the roasting time to prevent the meat from drying out since there is no bone to protect it. Roast at 425°F until the internal temperature reaches 165-175°F.
Are chicken thighs good for diabetics?
Yes, they are an excellent choice. They provide high-quality protein and healthy fats without adding refined sugars. If you enjoy this protein, you might also like our homemade butter chicken.
Are chicken thighs bad for LDL cholesterol?
It depends on the preparation. While thighs have more saturated fat than breasts, removing the skin after cooking can significantly lower the cholesterol impact.
Oven Chicken Thighs