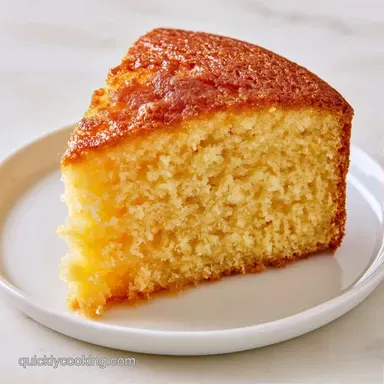
Golden Sockerkaka Swedish Sponge Cake
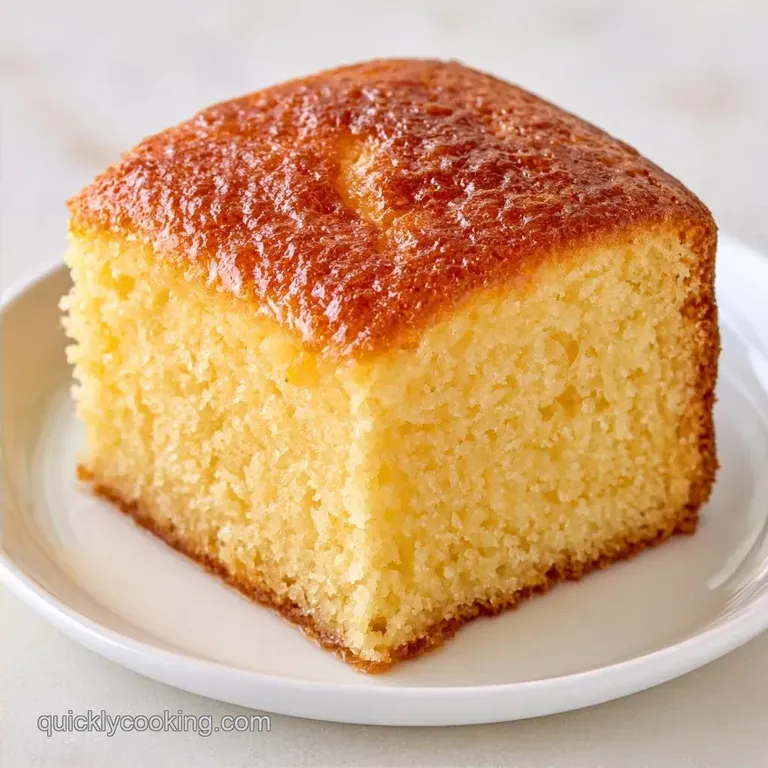
- Time: 15 minutes preparation and 35 minutes in the oven
- The Vibe: Rich, golden crumbs complemented by a zesty lemon note
- Perfect for: A relaxing afternoon "fika" or an effortless weekend treat
Have you ever noticed how some cakes are dense as a stone while others feel weightless? There is a subtle art to crafting a classic Swedish coffee cake. It doesn't require gourmet components or endless stirring just a couple of precise timing adjustments that completely transform the texture of the crumb.
I discovered this recipe during a trip to a quaint Stockholm bakery. Even before stepping inside, the scent of lemon and vanilla greeted me, and I saw a golden, cloud like cake waiting on the counter. It's the sort of recipe that fills your home with the aroma of a rustic cottage, regardless of your living space.
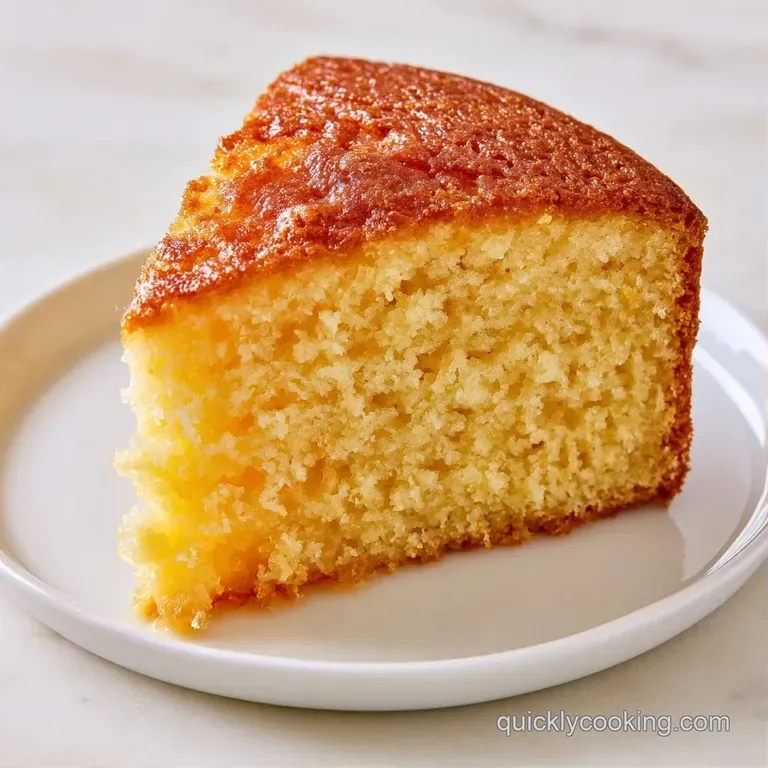
The result is a soft cake moderately dense yet springy with a balanced sweetness. This Sockerkaka is meant to be paired with a bold cup of coffee, allowing the buttery richness to offset the roast's bitterness.
Sockerkaka Swedish Sponge Cake
Air Pockets: Beating sugar into softened butter traps tiny bubbles that expand in the heat.
Room Temp Ingredients: Warm eggs and milk blend into the fat without curdling, which keeps the texture smooth.
Minimal Mixing: Stopping as soon as the flour disappears prevents gluten from toughening up the cake.
| Method | Time | Texture | Best For |
|---|---|---|---|
| Oven Bake | 50 min | Golden crust, airy middle | Traditional fika |
| Stovetop Steam | 60 min | Moist, dense, no crust | Humidity heavy days |
What Each Ingredient Does
| Ingredient | Role | If You Don't Have It |
|---|---|---|
| Unsalted Butter | Provides richness and structure | Margarine (use sparingly) |
| Granulated Sugar | Sweetens and aerates the butter | Caster sugar (works well) |
| All Purpose Flour | Builds the cake's frame | Spelt flour (will be denser) |
| Whole Milk | Adds moisture and tenderness | Buttermilk (adds tang) |
The Main Ingredients
- 1 cup (225g) unsalted butter, softened Note: Softened butter traps air more efficiently than melted butter.
- 1 cup (200g) granulated sugar Note: Standard crystals help aerate the butter as you cream them.
- 3 large eggs, room temperature Note: Ensures the batter doesn't separate.
- 1 tsp (5ml) vanilla extract
- 2 cups (250g) all purpose flour Note: Offers a balanced protein content for a dependable lift.
- 2 tsp (10g) baking powder
- 1/2 tsp (3g) salt
- 1/2 cup (120ml) whole milk, room temperature Note: High fat content preserves moisture in the cake.
- 1 tbsp (6g) fresh lemon zest Note: Brightens the flavor and offsets the butter's richness.
Gear You Need
You don't need a high end kitchen to pull this off. While electric hand beaters or a countertop mixer are convenient, a sturdy whisk and some muscle will work just as well.
You'll need a 9 inch round cake pan or a loaf pan. Be sure to line the bottom with parchment paper, as this cake tends to stick if you rely solely on grease. A fine mesh sifter is helpful for the flour, but a fork works in a pinch to break up clumps.
Making the Cake
Phase 1: The Aeration
- Warm the oven to 350°F (175°C). Grease your baking pan and line the base with parchment paper.
- Cream the softened butter and sugar on medium high speed until the mixture is pale and fluffy (roughly 3 minutes).
- Beat in the eggs one by one, ensuring each is well incorporated, then stir in the vanilla extract.
Phase 2: The Integration
- Sift the flour, baking powder, and salt together into a separate bowl.
- Lower the mixer speed. Slowly add the dry ingredients in three batches, alternating with the milk (Dry -> Wet -> Dry -> Wet -> Dry). Note: This prevents the batter from breaking.
- Use a spatula to fold in the lemon zest by hand. Stop mixing the moment the flour streaks disappear.
Phase 3: The Golden Bake
- Transfer the batter into the pan, leveling the top with a spatula.
- Bake for 30–35 minutes until the top is mahogany colored and a toothpick comes out clean.
- Let the cake rest in the pan for 10 minutes before moving it to a wire rack.
Fixing Common Issues
If the results aren't quite right, the culprit is often how the batter was combined or the temperature of your components. Research from Serious Eats shows that over mixing creates a rubbery crumb because too much gluten develops. If you notice "tunnels" in the cake, you likely worked the flour for too long.
Another common mistake is a "dip" in the center. This typically happens when the oven temperature plummets, which is common if you open the door to check on the cake. Trust your timer and keep the door closed until the 30 minute mark.
Fixing the Sinking Middle
If the cake collapses, it is often due to an excess of baking powder or opening the oven too soon. Use a level scoop to ensure measurements are accurate.
Handling Curdled Batter
A split or grainy appearance usually indicates the eggs were too cold. You can fix this by adding a tablespoon of the flour mixture and beating on high for 30 seconds.
Solving Dense Crumb
A heavy texture usually means the butter and sugar weren't creamed long enough. Ensure the mixture reaches a pale cream color before adding the eggs.
| Problem | Root Cause | Solution |
|---|---|---|
| Sinking Center | Oven door opened too early | Keep door shut until 30 mins |
| Rubbery Texture | Over mixing the flour | Fold by hand at the end |
| Grainy Batter | Cold eggs/milk | Use room temp ingredients |
Swaps and Variations
If you want to change the flavor profile, this recipe is very flexible. You can swap the lemon zest for orange zest or add a pinch of ground cardamom for a more traditional Scandinavian feel. For a different breakfast vibe, try these with Berries for 4 recipe.
If you're avoiding dairy, you can use a plant based butter and almond milk. Just keep in mind that almond milk is thinner than whole milk, so you might need an extra tablespoon of flour to keep the consistency right.
| Goal | What to change |
|---|---|
| More Citrus | Add 1 tsp lemon juice to milk |
| Nutty Flavor | Replace 1/4 cup flour with almond meal |
| Richer Taste | Use browned butter (cooled) |
Cake Myths
Sifting flour three times isn't actually necessary for this recipe. While it helps in a sponge cake that relies solely on whipped eggs, the baking powder here does the heavy lifting. One quick sift or a whisk through is plenty.
Some people think cold eggs are better for "stability." In reality, cold eggs can shock the creamed butter, causing it to seize and creating a grainy batter that won't rise evenly.
Storage and Waste
Keep the Sockerkaka Swedish Sponge Cake in a cake dome or wrap it tightly in foil. It stays fresh on the counter for 2 days, or you can keep it chilled for 72 hours.
If you have leftover slices that have gone a bit dry, don't toss them. Turn them into cake pops by crumbling them and mixing with a bit of cream cheese and jam. You can also freeze slices for up to 2 months; just wrap them individually in plastic wrap and thaw at room temperature.
Best Way to Serve
Traditionally, this is enjoyed simply alongside a cup of coffee and a bit of salted butter. For a more indulgent experience, serve a slice with Swedish creme with berries to create a proper feast.
If you're short on time, adding a dollop of whipped cream and a few fresh raspberries helps balance the cake's buttery richness. When sharing with a group, cut the cake into small wedges to maintain that light "fika" snacking tradition.
Recipe FAQs
What does "sockerkaka" mean in English?
It translates directly to sugar cake. This simple name reflects its role as a sweet staple in Swedish coffee culture.
Is it true that Sockerkaka is the only famous Swedish dessert?
Actually, no. While this sponge cake is a classic, Sweden also has famous treats like princess cake and cinnamon buns.
Which traditional Swedish sweets are most similar to this cake?
Many Swedish coffee cakes share a similar light texture and simple sugar base. They are typically served during fika, the traditional Swedish coffee break.
How to stop the cake from sinking in the center?
Avoid opening the oven door until the 30-minute mark. This prevents sudden temperature drops from collapsing the delicate structure.
Can I use a loaf pan instead of a round one?
Use a greased loaf pan for a denser, sliceable version. Just check for doneness a few minutes earlier as the depth changes the baking time.
Where should I store the cake to keep it moist?
Store the cake in a cake dome or wrap it tightly in foil. It stays fresh on the counter for 2 days or can be kept chilled for 72 hours.
Do I really need to sift the flour for the perfect crumb?
False. Sifting helps remove lumps, but whisking the dry ingredients thoroughly achieves a similar result.
What pairs well with this Swedish cake?
Serve a slice with fresh berries and coffee for a traditional fika. For a complete Swedish inspired meal, try our mushroom soup as a starter.
Sockerkaka Swedish Sponge Cake