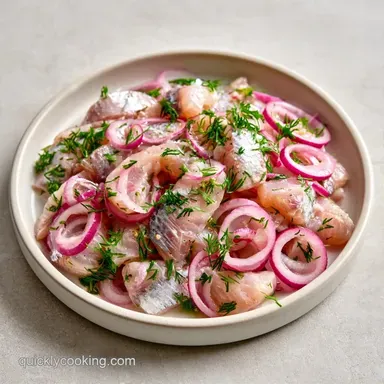
Traditional Swedish Pickled Herring
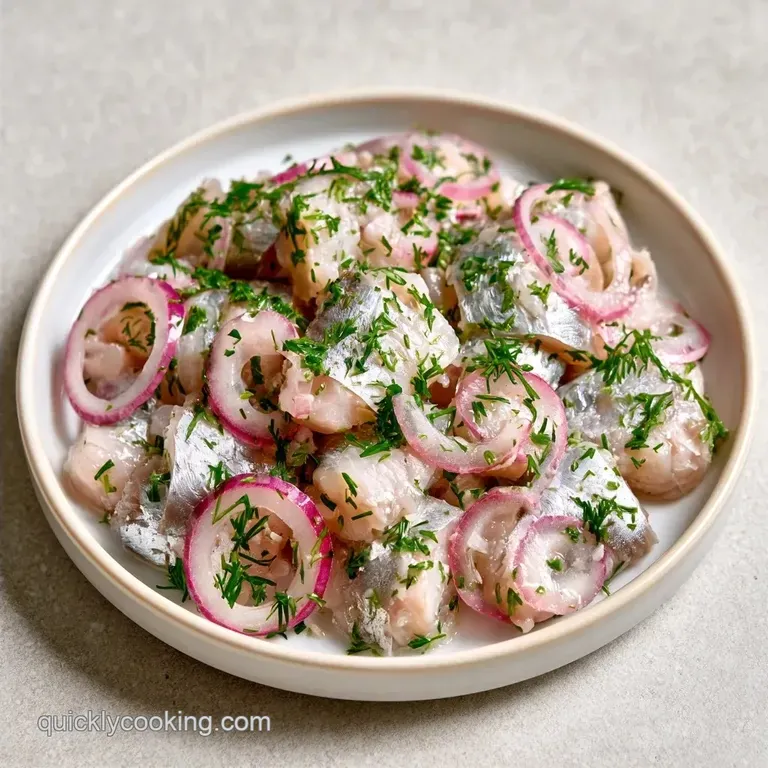
- Time:30 minutes active + 48 hours chilling
- Flavor/Texture Hook: Tangy, sweet, and firm
- Perfect for: Holiday appetizers or a Nordic style brunch
The aroma of allspice and spirit vinegar instantly transports me to my first authentic Swedish Midsummer. I can still see the table laden with new potatoes, fresh dill, and generous helpings of fish.
This tradition celebrates the shift from spring into summer with flavors that are intentionally bright, zesty, and clean.
The lengthy curing process often scares people off, but the actual effort is negligible. Most of the work is simply layering the ingredients and letting time do its thing. If you've only tasted commercial versions, prepare for a revelation; the flavor clarity here far surpasses anything from a factory jar.
We are preparing a classic Inlagd Sill Pickled Herring. It feels incredibly sophisticated to serve, yet requires almost no time over the stove, giving you a great sense of accomplishment. Let's get started.
Why Most Recipes Get This Wrong
Many people skip the salt cure phase because they want a "quick" result. That's a mistake. Without the cure, the fish stays too wet, and the brine can't penetrate the muscle fibers properly, leaving you with a soft, gummy texture.
The Osmotic Draw: Salt pulls excess water out of the fish. This tightens the protein structure and creates a firm, translucent fillet that holds up in the vinegar.
Temperature Control: Pouring boiling brine directly onto the fish "cooks" the protein instantly. This makes the fish opaque and tough. Letting the liquid cool slightly preserves that classic, glass like look.
Quick Stats and Timing
Before we start, let's look at the timeline. This isn't a "dinner tonight" recipe. It's a project.
| Type | Prep Time | Texture Result |
|---|---|---|
| Fresh Cured | 48+ hours | Firm and translucent |
| Pre salted | 24 hours | Slightly softer |
Right then, keep in mind that the total time of 48 hours 40 minutes includes the resting periods. The actual kitchen work only takes about 40 minutes total.
What Each Ingredient Does
Understanding why these specific items are in the jar helps if you need to make a quick change on the fly.
| Component | Purpose | Substitute Notes |
|---|---|---|
| Matjes Herring | Main Protein | Salted fillets work; fresh needs longer cure |
| Spirit Vinegar | Acid/Preservation | White vinegar works but is less sharp |
| Coarse Sea Salt | Firming Agent | Kosher salt is a direct swap |
| Allspice Berries | Warmth/Depth | Ground allspice (1/4 tsp) if berries are missing |
Basic Tool Kit
This process is quite simple. A few glass containers and a single pot are all that's required.
- Glass baking dish (for the cure)
- Medium saucepan
- Non-reactive glass jars (Mason jars work well)
- Paper towels for drying
- A sharp knife
Step by step Process
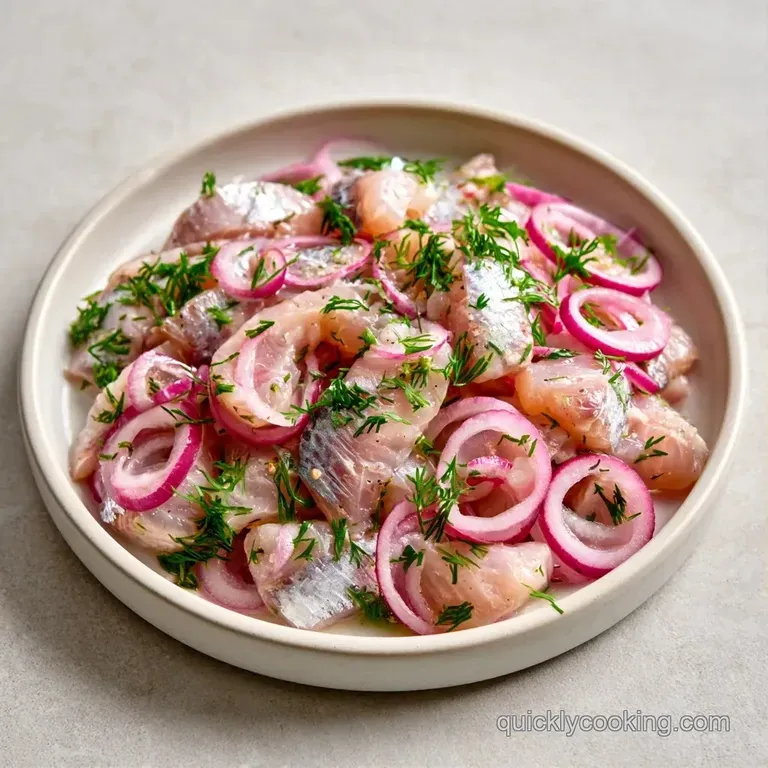
Follow these steps closely to ensure your Pickled Herring has the right bite.
- Mix 1/2 cup sea salt and 1/4 cup sugar in a glass dish. Note: This creates the curing bed.
- Lay Matjes herring fillets in a single layer over the salt, then cover with more salt and sugar. Repeat until all 2 lbs of fish are covered.
- Cover the dish and refrigerate for 12 to 24 hours until the fillets feel firm to the touch.
- Remove the fish and rinse them thoroughly under cold running water. Pat them completely dry with paper towels and cut into 2 cm wide pieces.
- In your saucepan, combine 2 cups spirit vinegar, 1 cup sugar, 1 cup water, 10 allspice berries, 5 peppercorns, and 3 bay leaves.
- Simmer the mixture for 10 minutes until the sugar dissolves and the liquid bubbles.
- Stir in the sliced onions and carrots, then remove from heat. Let the brine cool for 15 minutes.
- Pack the cured fish into glass jars and pour the brine and vegetables over the Pickled Herring.
- Seal the jars and refrigerate for 24 to 48 hours until the flavors fully merge.
Dealing With Common Pitfalls
Even with a simple process, things can go sideways. Here is how to handle it.
Fixing Mushy Fillets
If the fish is too soft, you likely didn't cure it long enough or didn't pat it dry. The water left on the surface dilutes the brine. Next time, ensure the fish is bone dry before it hits the vinegar.
Managing Over Saltiness
If the Pickled Herring tastes like a salt lick, you might have rinsed them too quickly. You can fix this by adding a splash of water and a pinch of sugar to the jar and letting it sit for another 12 hours.
Preventing Brine Cloudiness
Cloudy brine usually happens when the onions aren't sliced thinly or if the brine was too hot. Using a sharp knife or a mandoline for the vegetables keeps the liquid clear and the look professional.
Serving and Pairing Ideas
To get the most out of your Sill Pickled Herring, serve it cold. The acid pops more when the temperature is low.
I love serving this on rye bread with a thick smear of butter and a slice of cucumber. For a more traditional spread, try pairing it with Gubbröra eggs, which use a similar savory salty profile.
For those who want a different kind of fish snack, a Fast Tuna Melt Sandwich is a great high protein alternative for a quicker lunch.
Decision Shortcut:
- For firmer fish: salt cure for 24 hours instead of 12.
- For milder tang: replace 1/4 cup vinegar with water.
- For deeper spice: double the allspice berries.
Storage and Zero Waste
Keep your Pickled Herring in sealed glass jars in the cooler. It stays good for up to 3 weeks. Just make sure the fish is always completely submerged in the liquid to prevent spoilage.
Don't toss the leftover brine. It's essentially a seasoned vinegar. You can use it to quick pickle red onions or cauliflower for a salad. Some people even use a splash of it to deglaze a pan for a tangy pan sauce.
Avoid freezing this. The vinegar and salt will destroy the cell structure of the fish, and you'll end up with a mushy mess once it thaws.
Ways To Change It
After mastering the basic Pickled Herring, feel free to experiment with different tastes.
The Mustard Dill Twist
Stir in 2 tablespoons of Dijon mustard and a handful of freshly chopped dill once the brine has cooled. This adds a creamier, more herbal quality that is highly popular in modern Swedish cafes.
The Spicy Nordic
Add a sliced bird's eye chili or a teaspoon of crushed red pepper flakes during the simmer. This heat cuts through the sugar's sweetness and the richness of the fish.
Low Sugar Alternative
You can reduce the sugar in the brine by half. It will result in a more acidic flavor, but it's a great option for those watching their sugar intake. Just remember that the sweetness is essential for balancing the strong fish flavor.
A few final thoughts on the process.
Preparing your own Pickled Herring may seem like a lot of effort, but it is actually very efficient. After a few minutes of layering and simmering, the refrigerator handles the heavy lifting.
The result is a crisp, bright, salty snack that outperforms store-bought versions. Trust the method, don't skip the salt cure, and give it plenty of time to chill. The wait is truly the best part of the recipe.
Whether you're prepping for a party or simply want a unique condiment in the fridge, this Pickled Herring always delivers. Enjoy the process and the results.
Recipe FAQs
How long does pickled herring last in a jar?
It stays good for up to 3 weeks when kept in sealed glass jars in the cooler. Just keep the fish completely submerged in the liquid to prevent spoilage.
In what way do Swedes typically serve this fish?
Serve the fillets on rye bread or with boiled potatoes and sour cream. It is a staple of the traditional Swedish smörgåsbord.
Can you freeze pickled herring to make it last longer?
Actually, no. Freezing destroys the cell structure of the fish, which results in a mushy texture after thawing.
Why should the fillets be rinsed after the curing process?
Rinsing removes the excess sea salt from the surface of the fish. This prevents the final product from becoming overly salty.
What other Swedish dishes complement a plate of pickled herring?
Pair this with boiled potatoes and a side of vegan Swedish meatballs for a complete feast. The savory flavors balance the acidity of the brine.
How to prevent the fish from spoiling in the jar?
Ensure the herring fillets are fully submerged under the brine and vegetables. Use non-reactive glass jars with tight seals to keep air out.
Is it true that you can skip the curing process?
That's a myth. Curing for 12 to 24 hours firms the muscle fibers and draws out excess moisture for the correct bite.
Which type of container is best for storing the brine?
Use non-reactive glass jars to prevent the vinegar from reacting with the material. This preserves the flavor and safety of the fish.
Traditional Pickled Herring