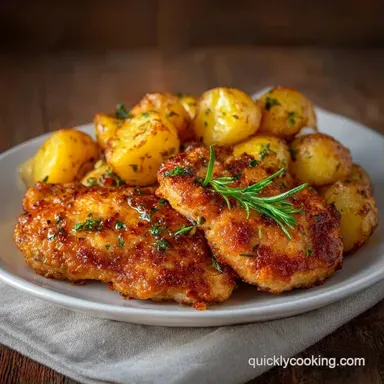
One Pan Garlic Chicken & Potatoes: Failure-Proof
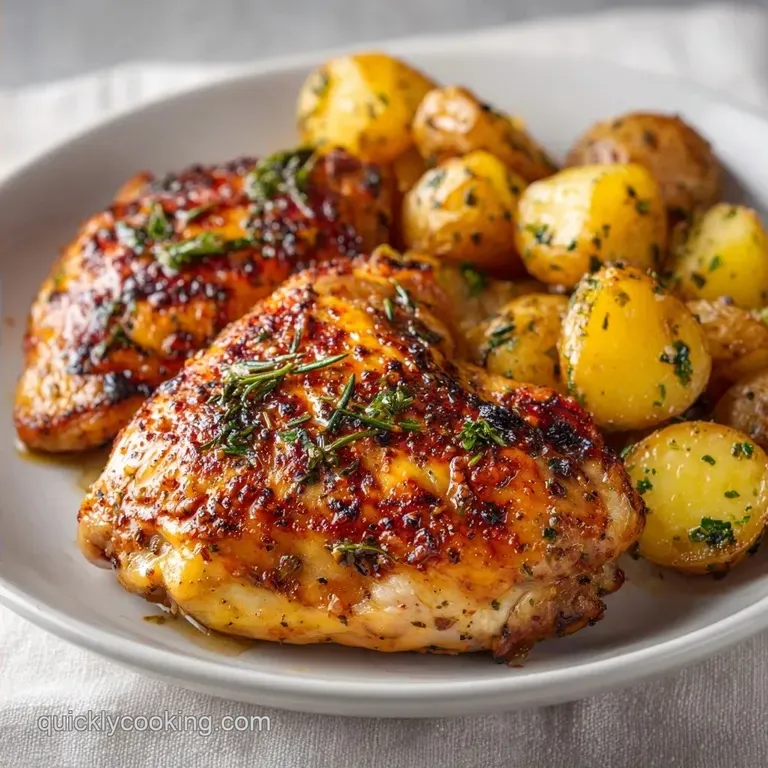
- Time: 15 min active + 30 min cooking
- Flavor/Texture Hook: Golden brown skin and velvety garlic butter
- Perfect for: Busy weeknight dinner
- Easy One Pan Garlic Chicken
- How This Recipe Actually Works
- Essential Component Analysis
- The Pantry List
- Gear For Your Kitchen
- Step By Step Guide
- Avoiding Common Cooking Errors
- Troubleshooting Common Issues
- Adjusting Your Portion Size
- Debunking Kitchen Myths
- Storing Your Leftovers
- Best Side Dish Pairings
- Recipe FAQs
- 📝 Recipe Card
That first sizzle when the skin hits the hot oil is the best part. You know that sound? It's the signal that you're about to get a crust that actually snaps when you bite into it. I remember making a similar dish years ago where I just threw everything in a baking dish and hoped for the best.
The result was gray chicken and steamed potatoes that tasted like sadness. It was a mess, and I almost gave up on "one pan" meals entirely.
Then I realized the secret is all about the order of operations. You can't just roast everything together if you want texture. You have to sear the protein first to build that deep flavor, let the chicken fat render out, and then use that liquid gold to fry the potatoes.
This One Pan Garlic Chicken is the result of me stopping the "dump and bake" madness.
What you're getting here is a streamlined process. We're using skin on thighs because they're way more forgiving than breasts and hold onto the moisture. We'll get those potatoes brown and crispy, toss in a bunch of garlic, and let the oven do the heavy lifting for the final stretch.
It's fast, it's punchy, and it only leaves you with one skillet to scrub.
Easy One Pan Garlic Chicken
The magic of this dish is in the fat. When you sear skin on thighs, you're essentially creating your own cooking oil right in the pan. Instead of wiping that out, we use it as the base for the baby golds. This means the potatoes don't just cook, they absorb the essence of the chicken and the smoked paprika.
It creates a cohesive flavor where the starch and the protein feel like they belong together.
I've found that using a 12 inch skillet is non negotiable here. If you use a pan that's too small, the chicken thighs will crowd each other, the moisture will trap, and you'll end up steaming the meat instead of searing it. You want space for the air to circulate and the water to evaporate instantly.
When the pan is the right size, the skin browns in about 6 minutes and stays crisp even after the oven trip.
How This Recipe Actually Works
Understanding what's happening in the pan helps you avoid the common pitfalls. Here is why this specific method beats a standard roast.
- Fat Rendering: High heat melts the subcutaneous fat from the chicken skin, which then fries the potatoes in a flavorful oil.
- Dual Stage Cooking: Searing creates the crust, while the 400°F oven ensures the thickest part of the thigh hits 165°F without burning the exterior.
- Aromatic Timing: Adding garlic at the very end of the stovetop phase prevents it from turning bitter or burnt during the long sear.
- Acidic Balance: The fresh lemon juice added at the end cuts through the richness of the butter and chicken fat.
| Method | Time | Texture | Best For |
|---|---|---|---|
| Stovetop Only | 25 mins | Browned, but potentially raw inside | Very thin fillets |
| Oven Only | 45 mins | Soft skin, steamed potatoes | Meal prep/Large crowds |
| Sear & Roast | 45 mins | Shatter crisp skin, golden spuds | high-quality dinner |
Essential Component Analysis
Not every ingredient is just for flavor; some are there to do a specific job.
| Ingredient | Science Role | Pro Secret |
|---|---|---|
| Unsalted Butter | Flavor Carrier | Browns at 350°F to add a nutty note |
| Smoked Paprika | Color & Depth | Adds a "grilled" taste without a grill |
| Lemon Juice | pH Balancer | Brightens the heavy fats instantly |
| Baby Gold Potatoes | Starch Base | Hold their shape better than Russets |
The Pantry List
Keep it simple. Don't overcomplicate the ingredients or you'll spend more time prepping than eating.
- 1.5 lbs boneless, skin on chicken thighs Why this? Skin provides the essential fat for the potatoes
- 1 lb baby gold potatoes, halved Why this? Creamy interior, thin skin that browns well
- 4 tbsp unsalted butter Why this? Creates the velvety sauce base
- 6 cloves garlic, minced Why this? Fresh is non negotiable for that punchy flavor
- 1 tbsp olive oil Why this? Higher smoke point than butter for the initial sear
- 1 tsp smoked paprika Why this? Gives a deep, reddish gold color
- 1 tsp dried oregano Why this? Earthy contrast to the garlic
- 1 tbsp lemon juice Why this? Essential for cutting through the richness
- 1 tbsp fresh parsley, chopped Why this? Adds a fresh, green finish
- 1 tsp salt Why this? Basic flavor enhancer
- 0.5 tsp black pepper Why this? Adds a subtle heat
If you're missing something, you can swap some things out. For example, if you don't have gold potatoes, red potatoes work, though they're a bit waxier. For the herbs, dried thyme is a great substitute for oregano. If you want a bit more heat, a pinch of cayenne mixed with the paprika does the trick.
Gear For Your Kitchen
You only need a few things, but they have to be the right ones. I use a cast iron skillet because it holds heat like a beast, but any oven safe stainless steel pan will work. Avoid non stick pans for this recipe; they can't handle the 400°F oven temp safely, and you won't get nearly as good of a sear on the chicken.
A digital meat thermometer is your best friend here. It's the only way to know for sure that the chicken is done without cutting into it and letting all the juices run out. If you're looking for more tips on oven cooking and general tool maintenance, check out this guide from Food Network.
Step by step Guide
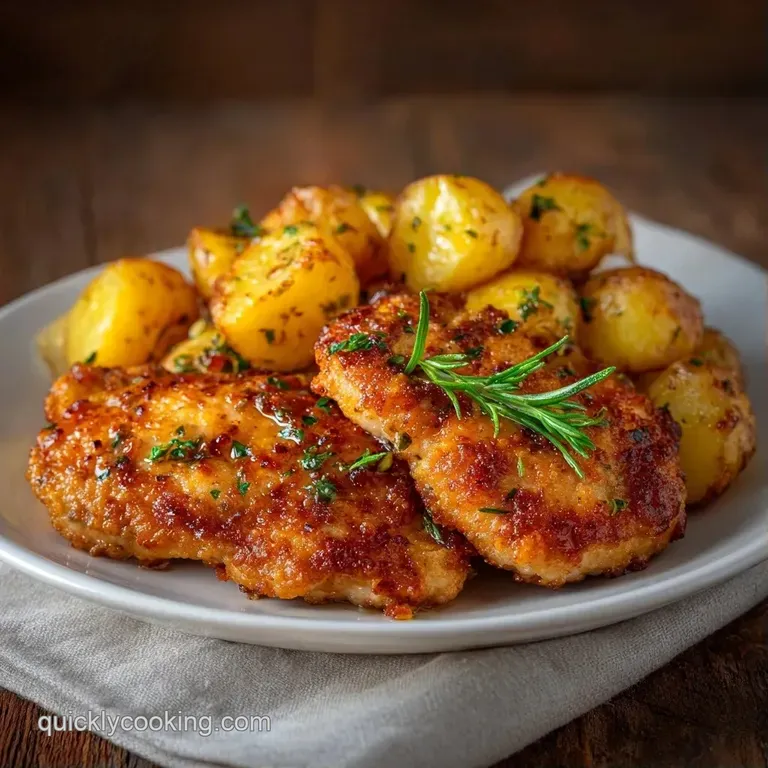
Let's get into it. Follow these steps exactly to ensure the textures stay distinct.
- Pat the chicken thighs completely dry with paper towels. Note: Any moisture on the skin will cause it to steam instead of sear.
- Season the chicken with salt, pepper, and smoked paprika.
- Heat olive oil in a 12 inch oven safe skillet over medium high heat until shimmering.
- Place chicken skin side down and sear for 5-7 minutes until the skin is deep golden brown; flip and sear for 2 more minutes, then remove chicken to a plate.
- Reduce heat to medium and add unsalted butter to the rendered chicken fat.
- Add halved potatoes and cook for 5 minutes, stirring occasionally, until the edges brown.
- Stir in minced garlic and dried oregano, cooking for 60 seconds until fragrant.
- Nestle the seared chicken thighs back into the pan on top of the potatoes.
- Transfer the skillet to a preheated oven at 400°F (200°C) and roast for 15-20 minutes, or until the internal temperature reaches 165°F (74°C).
- Drizzle with lemon juice and garnish with chopped fresh parsley.
Avoiding Common Cooking Errors
Even a simple One Pan Garlic Chicken can go wrong if you're not paying attention to the cues. The most common issue is the garlic. If you add it too early, it burns and turns the whole pan bitter.
Troubleshooting Common Issues
| Issue | Solution |
|---|---|
| Why Your Skin Isn't Crispy | This usually happens because the chicken was damp. If you don't pat it dry, the water turns to steam, which creates a barrier between the meat and the hot oil. |
| Why Your Garlic Burned | Garlic has a very low burn point. If the pan is screaming hot when you toss it in, it'll blacken in seconds. Always reduce your heat to medium before adding the butter and garlic. |
| Why Your Potatoes Are Hard | If the potatoes are too large or you didn't sear them enough on the stove, the 15-20 minutes in the oven won't be enough to soften the center. Keep them to baby sized or halve them carefully. |
Common Mistakes Checklist:
- ✓ Paper towels used to dry chicken skin.
- ✓ Pan is preheated before adding oil.
- ✓ Chicken is not crowded in the skillet.
- ✓ Garlic is added for only 60 seconds.
- ✓ Meat thermometer used to verify 165°F.
Adjusting Your Portion Size
If you're cooking for just yourself or a crowd, you can't just double everything linearly.
Scaling Down (½ portion): Use a smaller 8 or 10 inch skillet. You can reduce the oven time by about 20% because there's less mass in the pan to heat up. If the recipe calls for an egg (in other variations), beat it first and use half.
Scaling Up (2x-4x portion): Do NOT crowd the pan. You'll need to sear the chicken in batches. If you put 6 lbs of chicken in one pan, the temperature will drop, and you'll lose the sear. For spices, only increase them to 1.5x; too much smoked paprika can become overpowering.
Liquids like lemon juice can be reduced by 10% to avoid a soggy pan.
| Adjustment | Chicken | Potatoes | Spices | Oven Time |
|---|---|---|---|---|
| Half Batch | 0.75 lb | 0.5 lb | 75% | -20% |
| Double Batch | 3 lbs | 2 lbs | 150% | +5-10 mins |
Debunking Kitchen Myths
There are a few things people say about searing that just aren't true. First, searing meat does not "seal in the juices." That's a total myth. In reality, searing actually causes a small amount of moisture loss. We do it for the flavor and the color, not to lock in liquid.
Another myth is that you should let chicken sit at room temperature for an hour before cooking. While a slight temper helps, it's not worth the food safety risk for a quick pan sear. Just make sure the skin is bone dry, and you'll get the same result.
Storing Your Leftovers
If you have leftovers, store them in an airtight container in the fridge for up to 3-4 days. For more detailed tips on keeping your meal preps fresh, The Kitchn has some great storage guides.
When reheating, avoid the microwave if you can. The microwave will turn that crispy skin into a sponge. Instead, put the chicken and potatoes back in a skillet over medium heat or in a 350°F oven for 10 minutes. This helps bring back some of the crunch.
Zero Waste Tip: Don't throw away the potato peels if you peel them. Toss them in a bit of the leftover garlic butter from the pan and roast them at 400°F for 10 minutes for a quick snack.
You can also save the chicken bones if you use bone in thighs to make a quick stock.
Best Side Dish Pairings
This dish is already a complete meal because of the potatoes, but if you want to round it out, go for something green. A simple steamed broccoli or a crisp arugula salad with a lemon vinaigrette works well.
If you're feeling fancy, I highly recommend serving this with Sourdough Discard Garlic Knots. The knots are great for mopping up the leftover garlic butter from the bottom of the pan. For a more in depth look at why roasting vegetables works so well, you can discover why roasting vegetables enhances their flavor over on Serious Eats.
Whether you're using a quick One Pan Garlic Chicken breast or these thighs, the key is the heat management. Stick to the timing, keep the skin dry, and you'll have a dinner that looks like it took hours but only took a few simple moves.
Recipe FAQs
How to cook chicken thighs in a pan?
Sear skin side down over medium high heat for 5 7 minutes. Flip and cook for 2 more minutes before removing the meat to a plate to prevent overcooking.
How to bake chicken thighs in the oven?
Roast in a preheated oven at 400°F (200°C) for 15 20 minutes. Use a meat thermometer to ensure the internal temperature reaches 165°F (74°C).
Is it true that I can't get crispy skin if I don't pat the chicken dry?
No, this is a common misconception, but moisture is the enemy of a sear. Water turns to steam in the pan, which creates a barrier that prevents the skin from becoming deep golden brown.
What can I do with two pounds of boneless chicken thighs?
Scale the seasonings and potatoes proportionally. Since the recipe uses 1.5 lbs, increase the salt, smoked paprika, and garlic slightly to maintain the flavor balance.
What is the best way to cook skinless chicken thighs?
Reduce the initial searing time since there is no skin to crisp. Focus on a quick brown on both sides before nestling them atop the potatoes. If you enjoyed mastering this pan-searing technique, see how the same principle works in our butter chicken.
How to store and reheat the leftovers?
Keep in an airtight container in the fridge for 3-4 days. Reheat in a skillet over medium heat or in a 350°F oven for 10 minutes to restore the crunch.
Can I use different potatoes than baby gold?
Yes, any waxy potato works well. Just ensure they are halved or cut to a similar size so they roast evenly during the 15-20 minute oven window.
One Pan Garlic Chicken